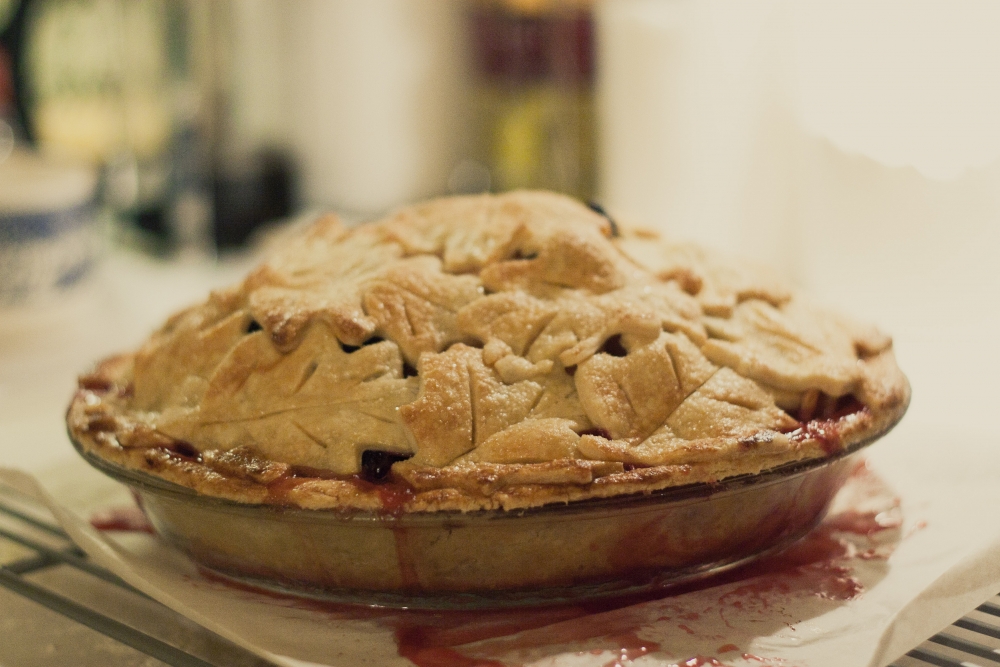
apple blackberry pie
I used to sort of hate cooked fruit, but it only took one time of making my own pie for thanksgiving two years ago to cure me. It's hard not to like something after being so involved in the process. Since then I've made this pie three times (which should tell you how delicious it is), but this year was the first time I made my own crust. The recipe belongs to Martha Stewart and can be found here, but you can follow along below to learn some of the little tricks I've picked up along the way.
Now, I like Martha as much as the next guy, but her recipes are hit or miss for me, and about 50 percent of the time there is a major mistype in the recipe. This recipe is delicious and I love the idea of the fall leaves, but the cook time on this one is incorrect. After the initial 20 minutes and reducing the heat to 350 degrees, the pie should be cooked an additional hour, NOT an hour and 45 minutes (Martha states the correct cook time of an hour in the accompanying video). Cooking for the time stated in the recipe will result in apple sauce pie, which is what happened to me last year : (
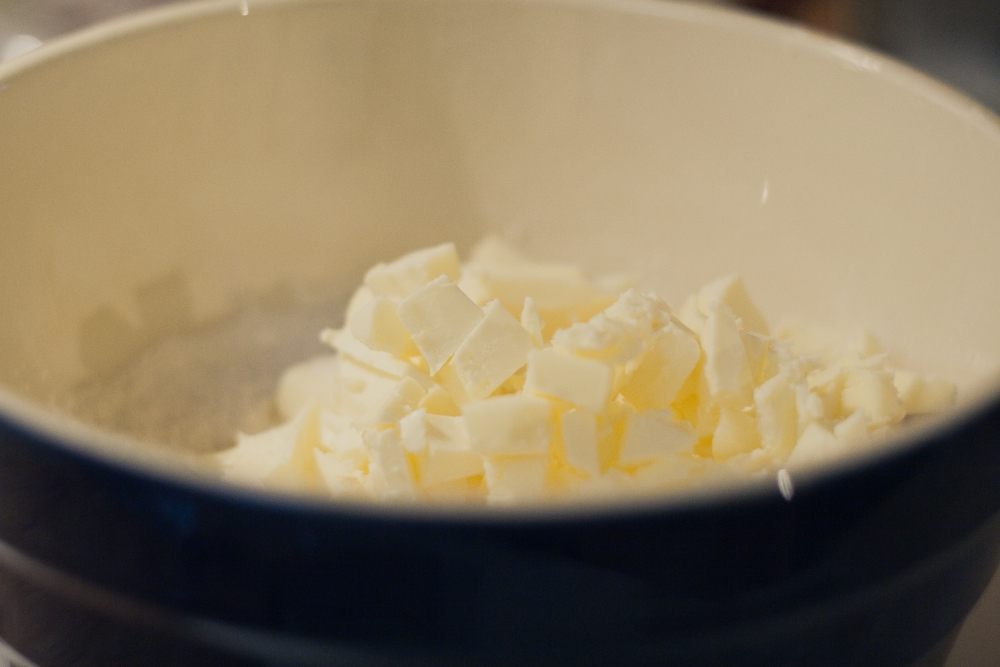
Start with your crust. The recipe calls for using a food processor but if you have no food processor (or a tiny one, like me) you can use a pastry cutter instead. This worked really well for me. Mix dry ingredients and then add butter.
*Butter tip: precut your butter into little pieces and then freeze it. This helps to prevent overmixing. . .
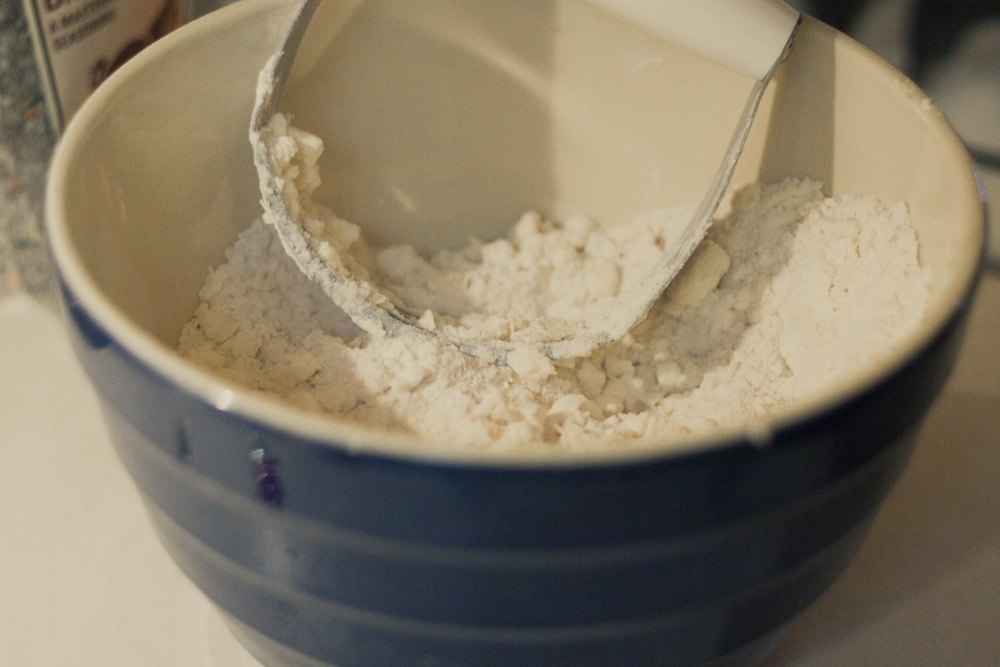
Most crust recipes call for mixing until pea-sized crumbs of butter form. I followed this advice and I would score my resulting crust a solid B, but for a flakier crust, I would go with crumbs twice that size. . .
Add your cold water. I ended up using 1/4 c plus 2 tbsp. for the perfect consistency. . .
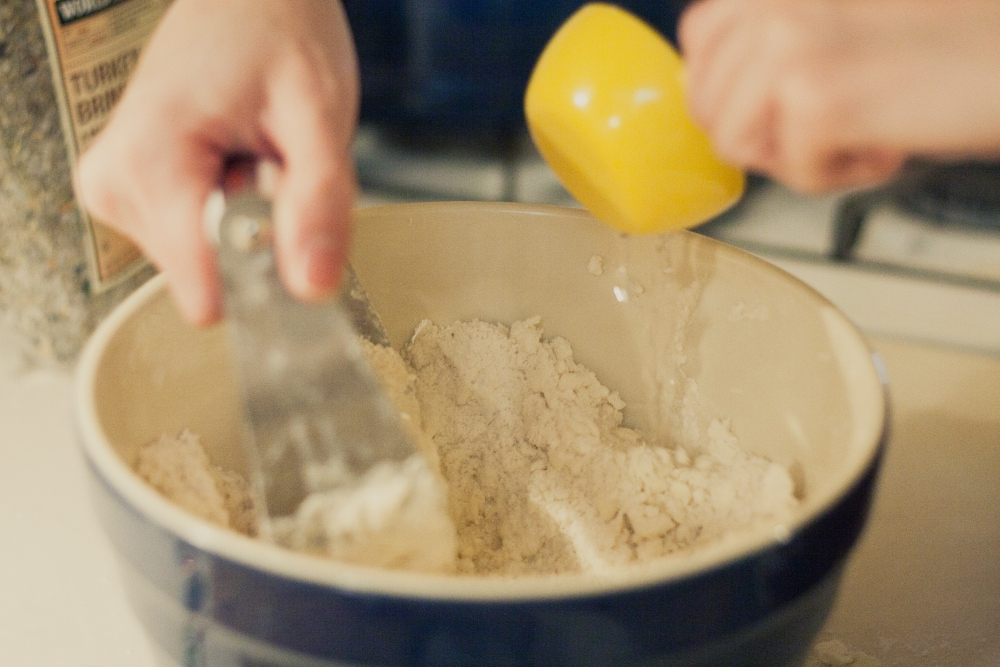
Cut this together until it just starts to hold together. Resist the temptation to overmix. . .
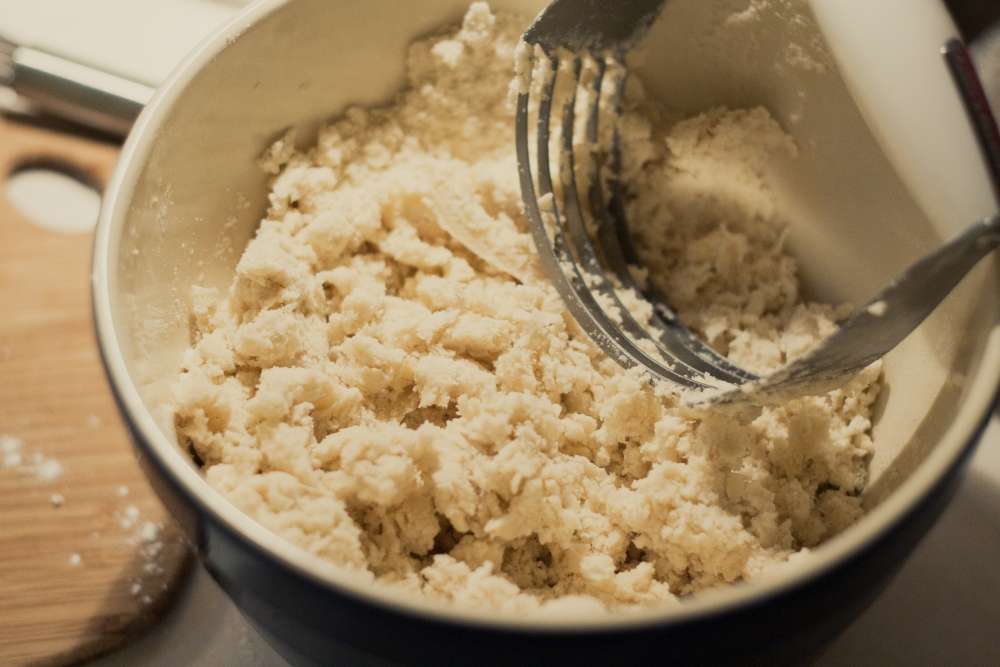
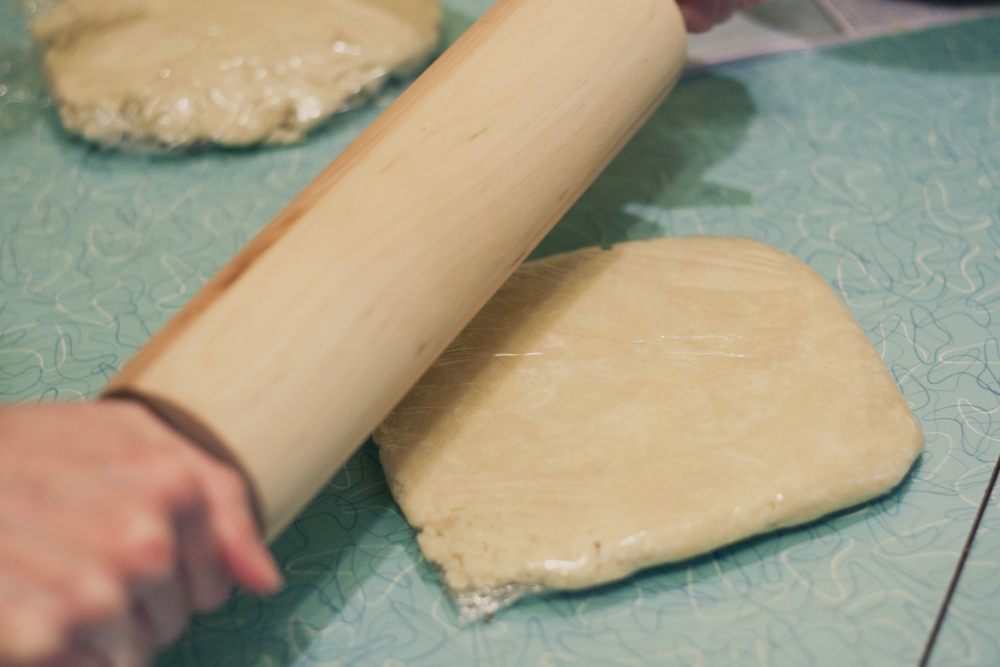
Separate dough in half on two sheets of plastic wrap and carefully press into disks. Wrap and then carefully use a rolling pin to further flatten. . .

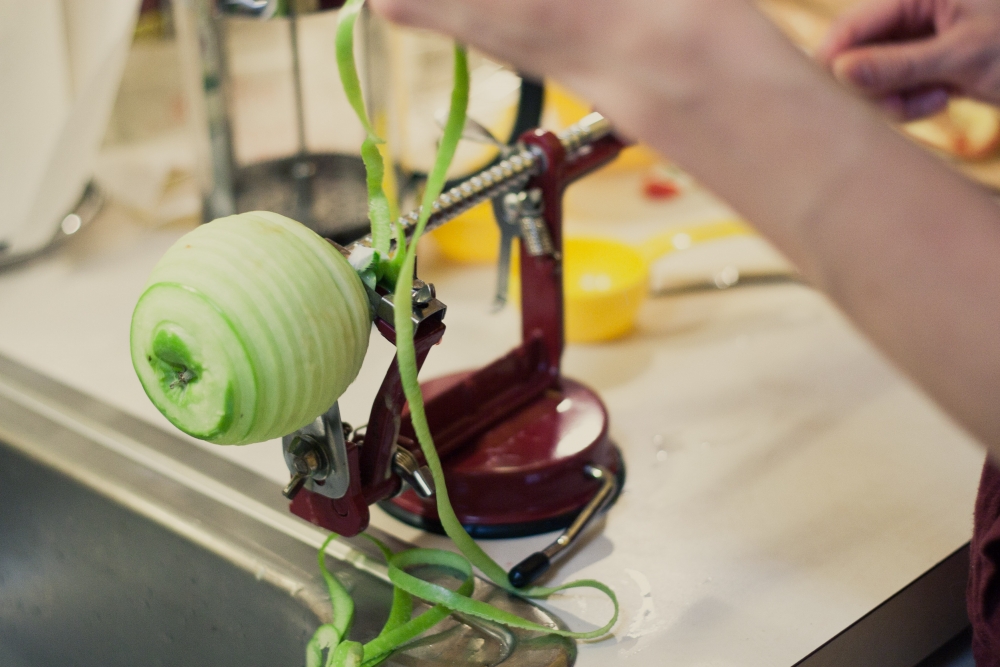
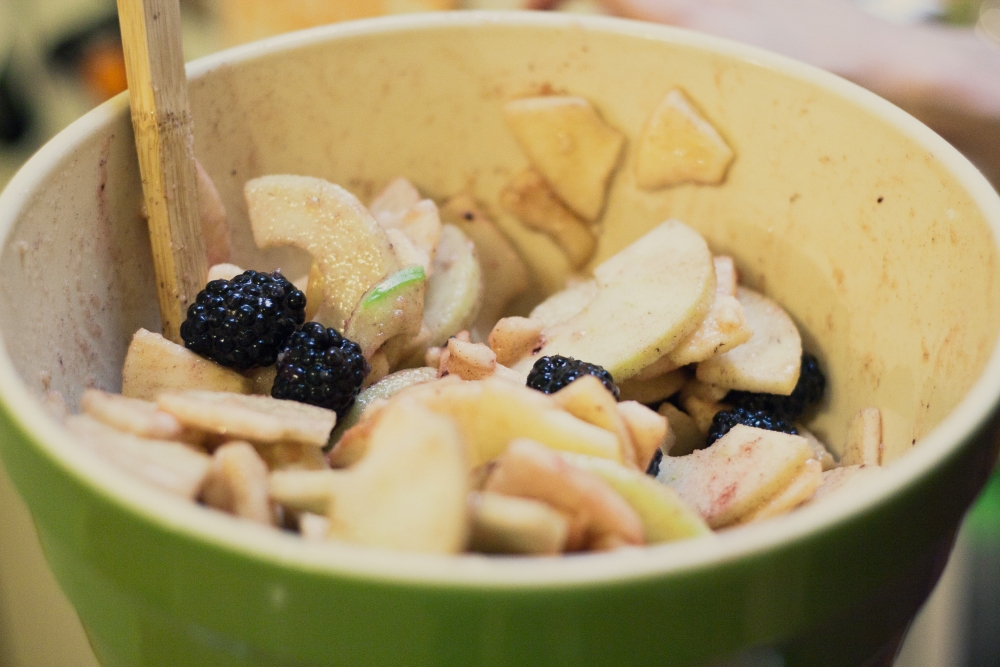
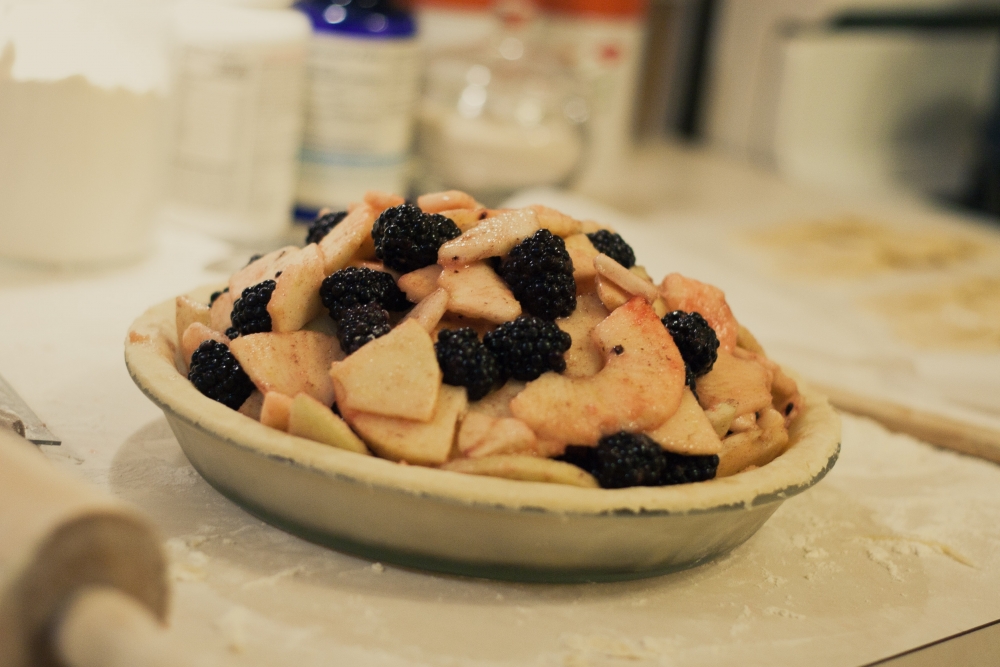
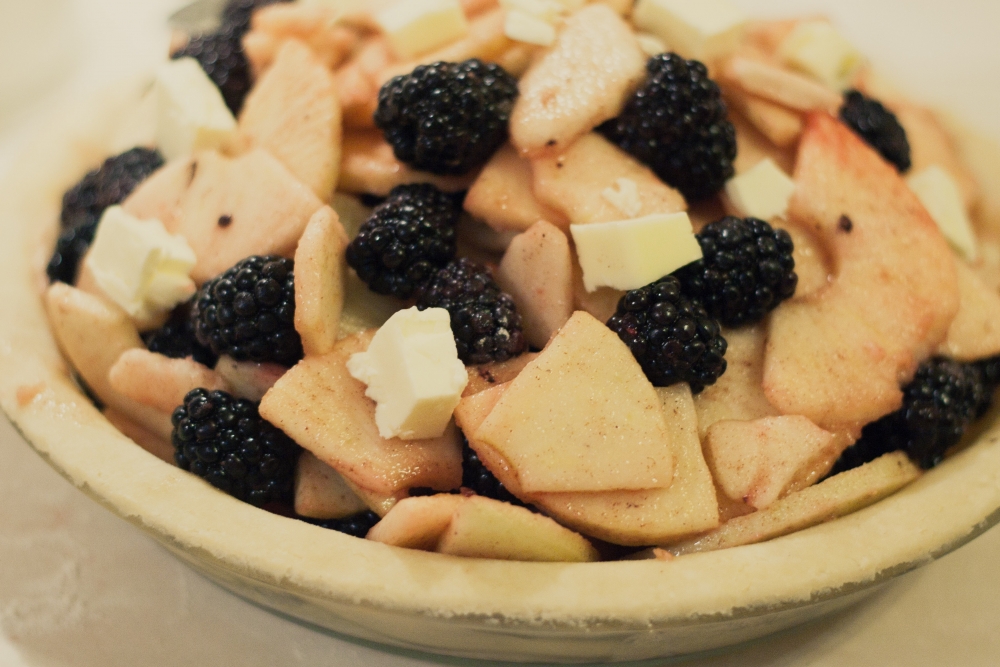
Place in freezer and then get started on the filling. For apples I did a mix of Empire, Jonagold, and Granny Smith. This was the first time I used a mix of apples, rather than a single variety, and I was rewarded with a more delicious and complex flavoured and textured pie. Totally worth it. Also, don't make the mistake of using whatever apples you have on hand if they are not good cooking apples; not all apples cook up well, which probably also contributed to last years apple sauce pie letdown. Peel, core, slice. . .
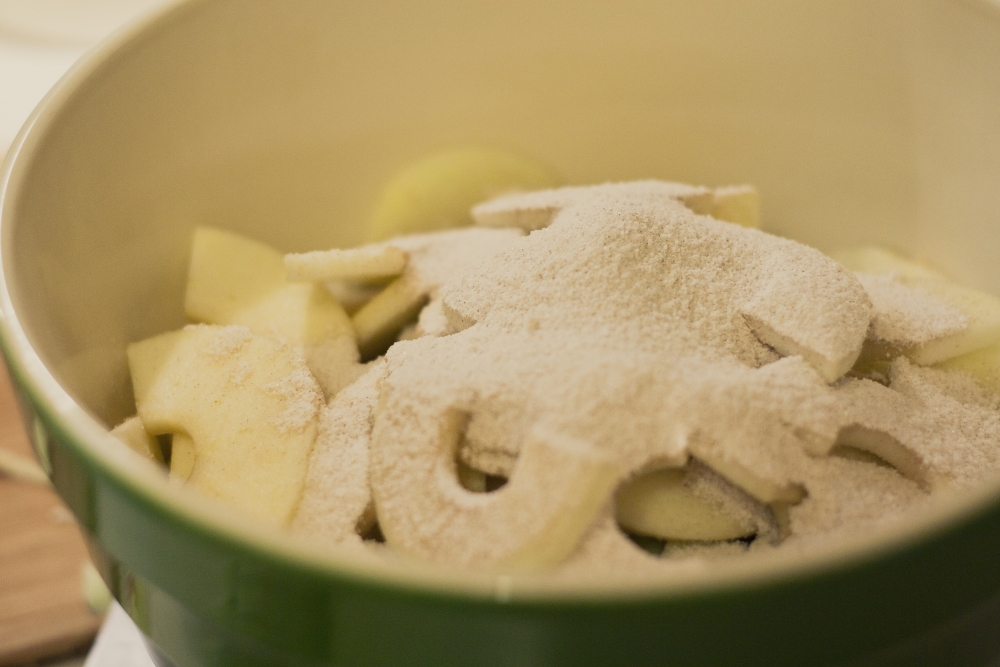
Mix your sugar, cornstarch, cinnamon and salt, and pour over apples. . .
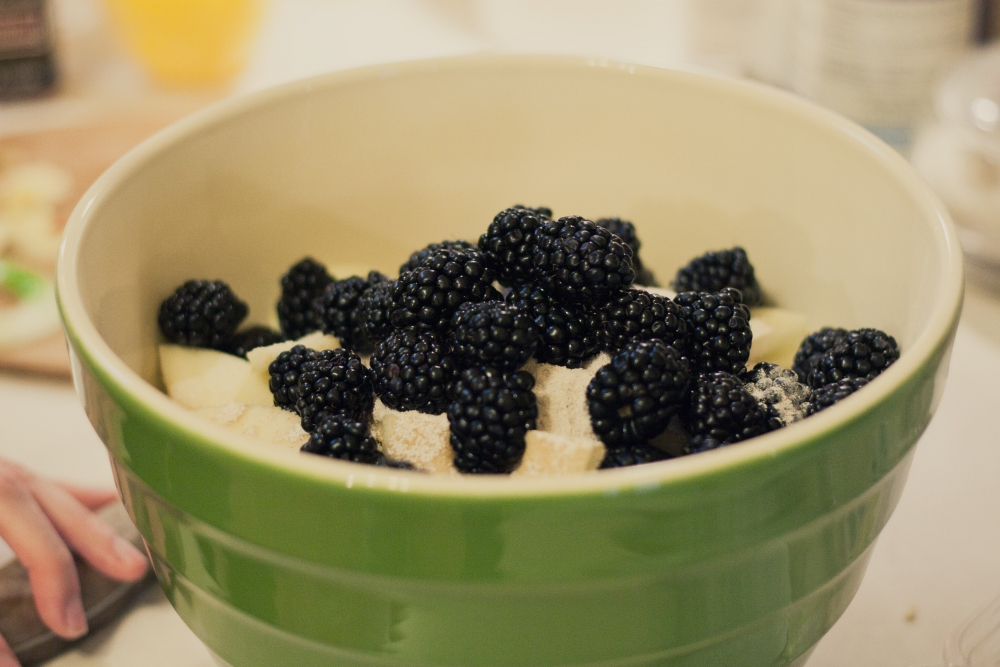
Add blackberries. I used a full two cartons, which was 12 oz. . .
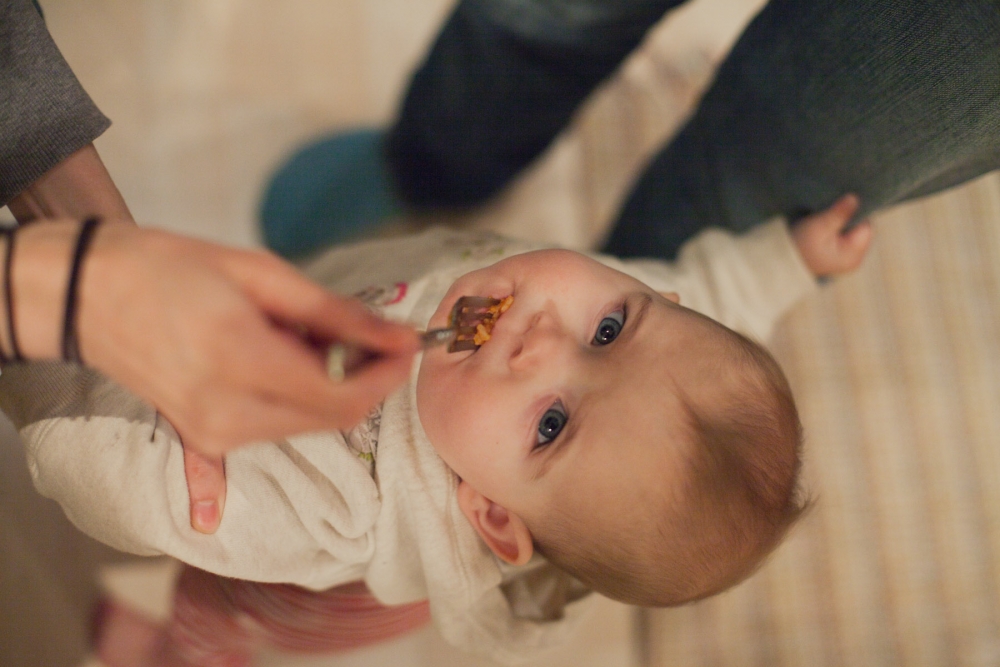
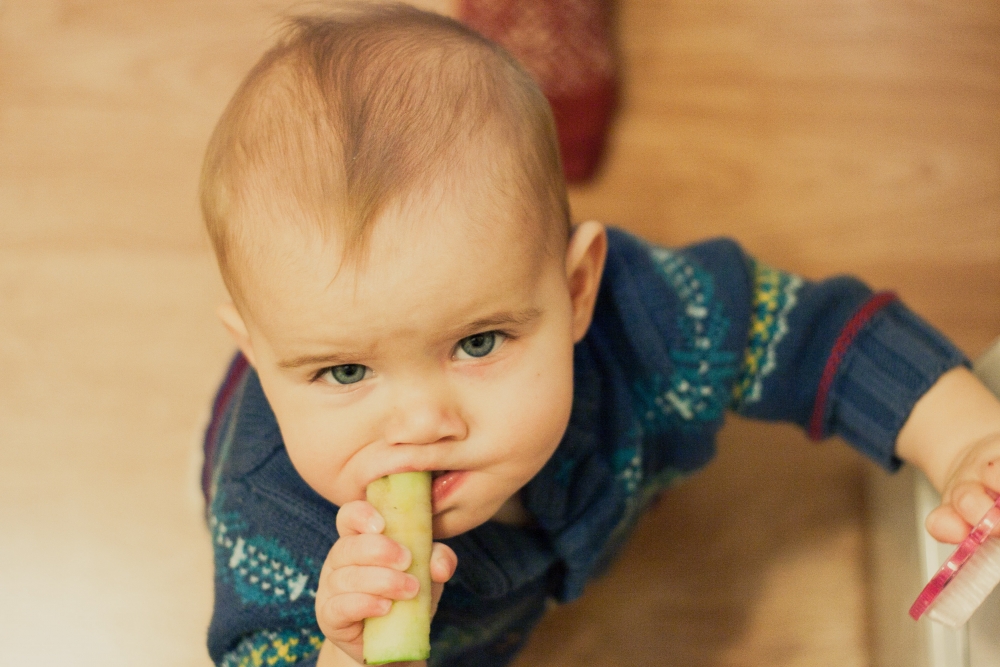
Pat the baby, enjoying the apple core I gave her. . .
Toss until coated. A little blackberry smooshage is ok, but be gentle (also, don't miss out on tasting this step, it's awesome). . .
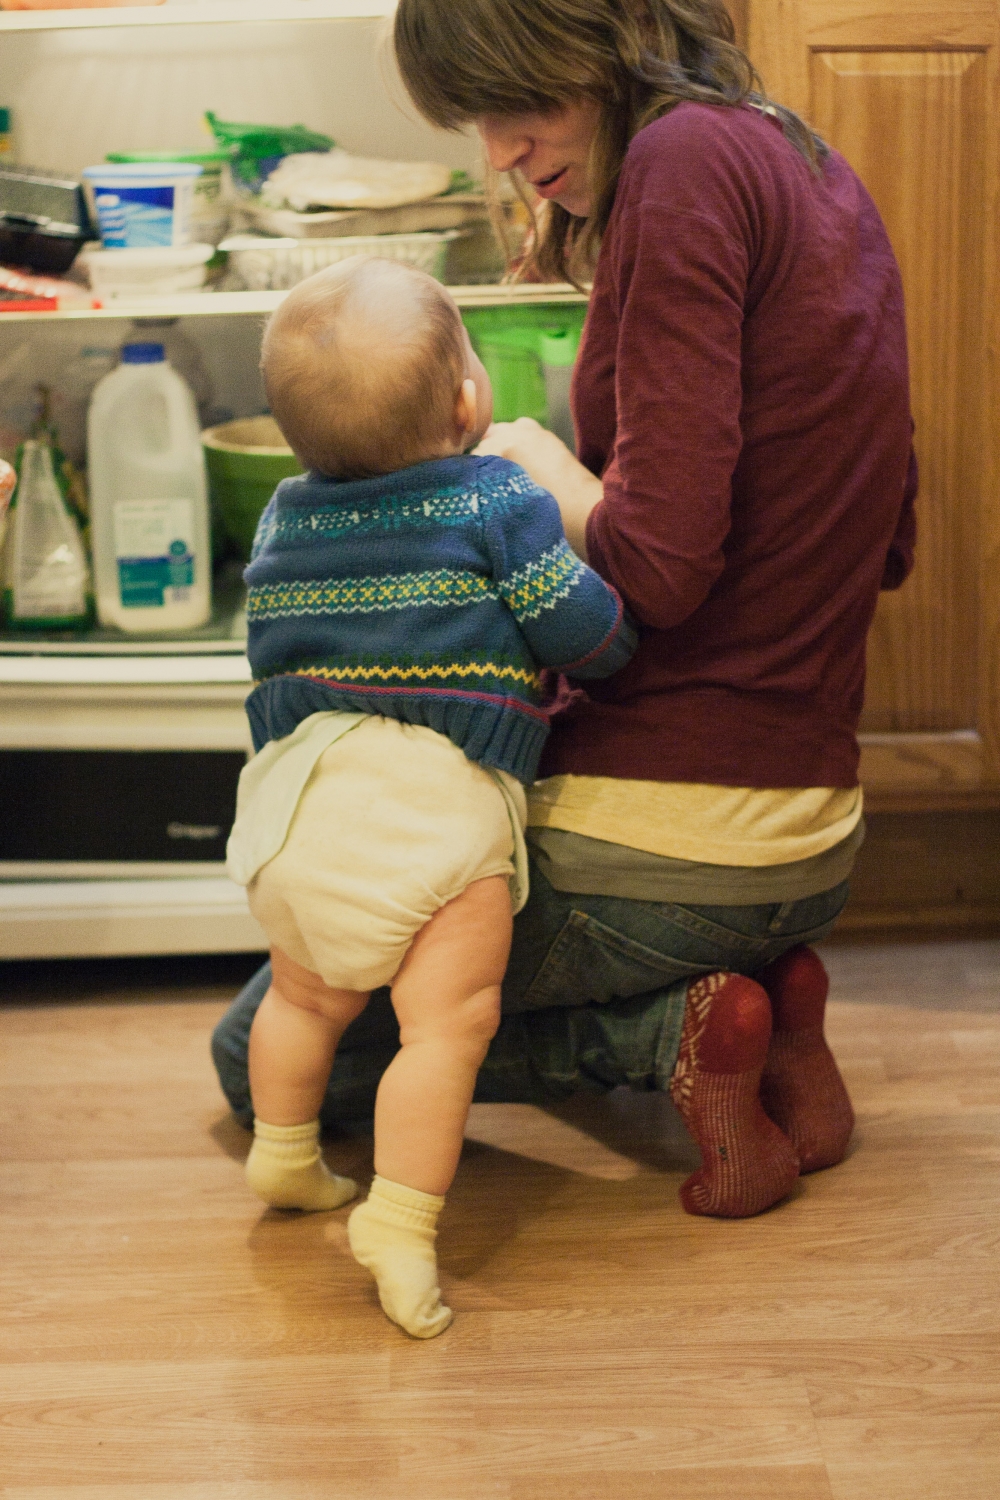
Place in fridge with help of baby. . .
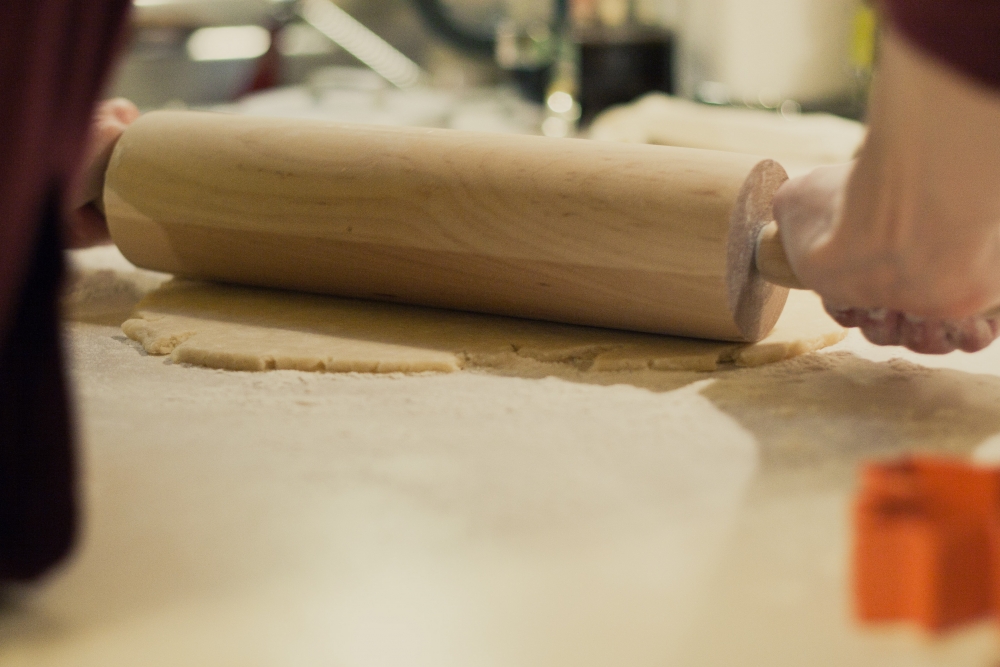
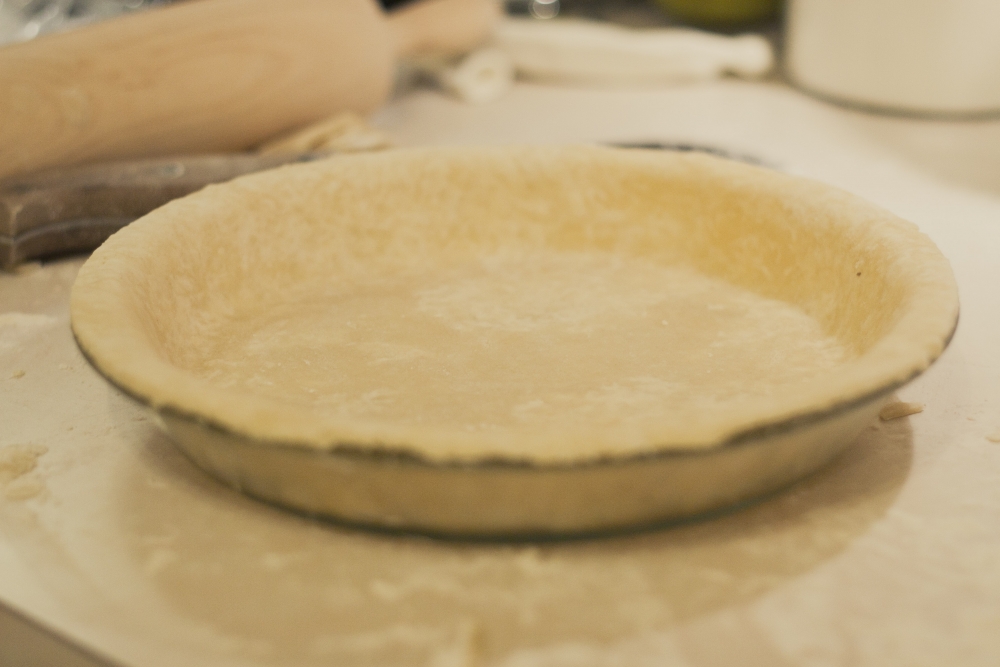
Flour work surface and roll out one of your pie disks to 1/8 inch. Supposedly the proper way to do this is by constantly rotating your crust and only rolling away from you. I didn't do this, and my crust ended up stuck to the counter. Live and learn. . .
Fit into your pie pan and trim around the edge with a knife, then place in the freezer. Unlike me, you should use a metal pie pan for this recipe. You'll be putting your whole pie back in the freezer and then straight into the oven later, and that is a recipe (excuse the pun) for a shattering glass dish. I've lucked out the times I've done this, but I won't be doing it again after reading this article.
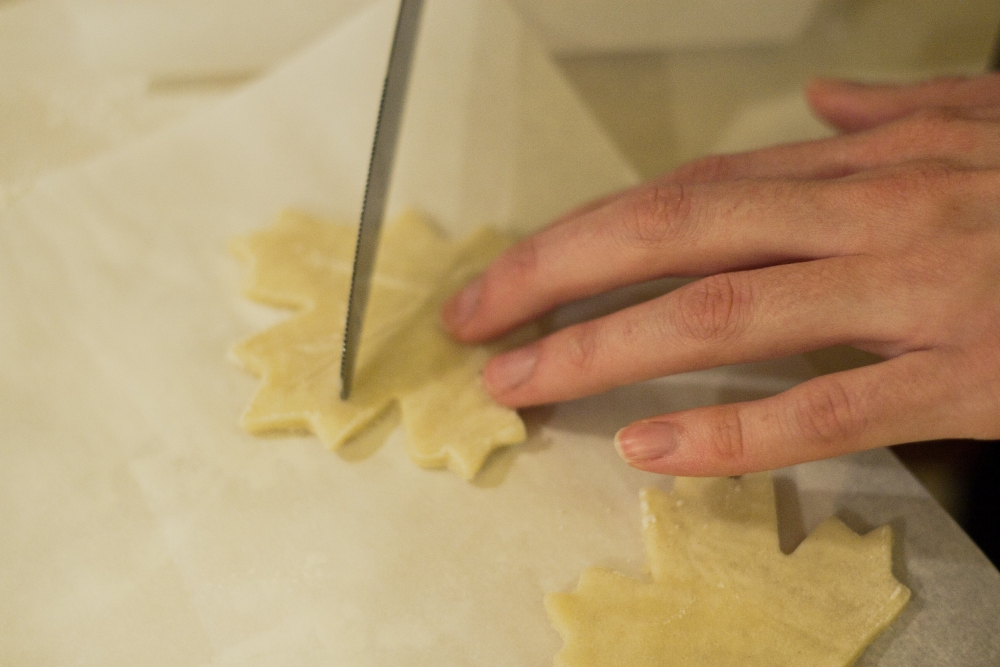
Cut your leaves! I found my leaf cookie cutters at Target two years ago, but look at these! And they're Amazon Prime! (if you have Prime, you understand my excitement)
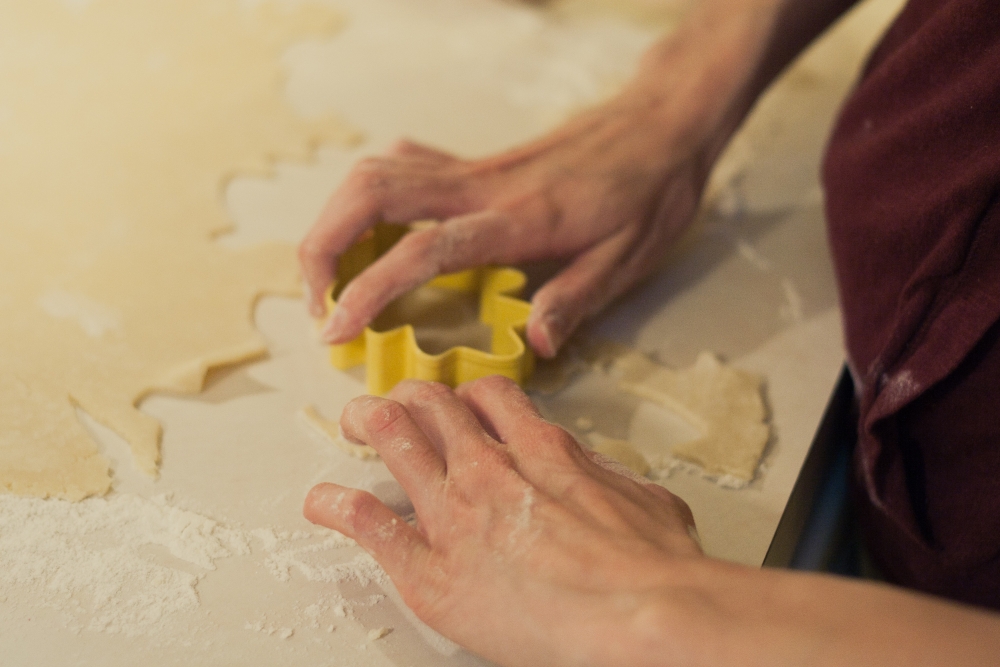
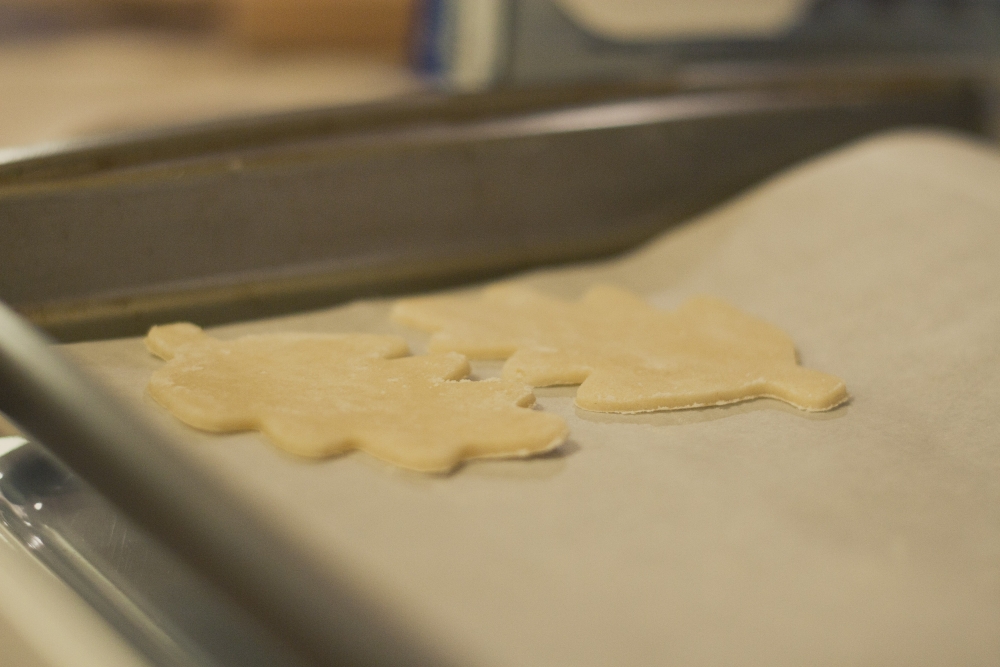
Place on a parchment lines cookie sheet. . .
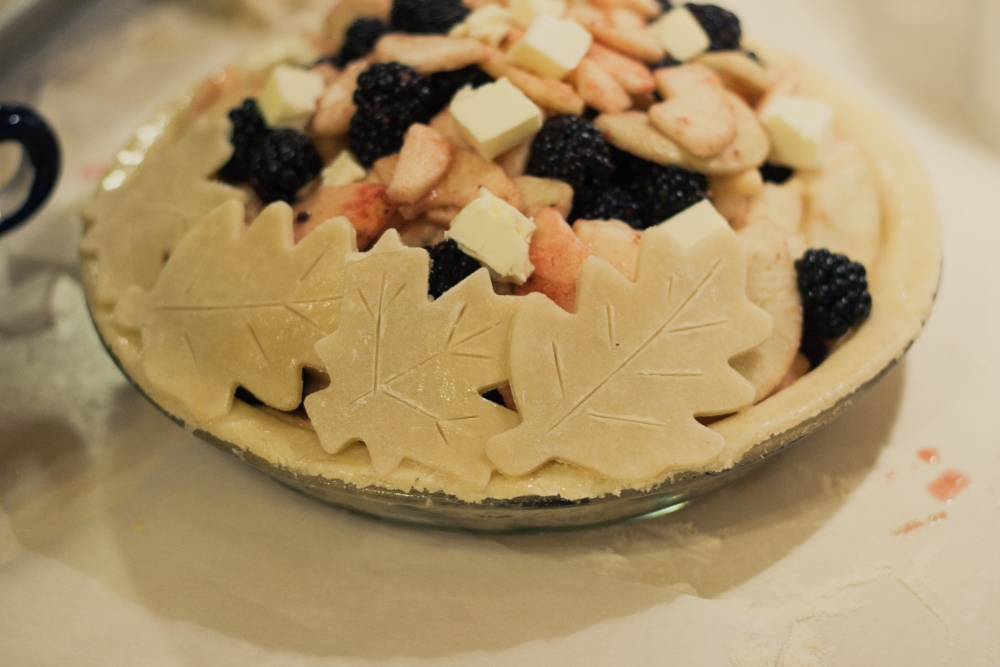
Place leaves in freezer, remove your bottom crust and fill with the apple mixture. . .
Then dot with butter. . .
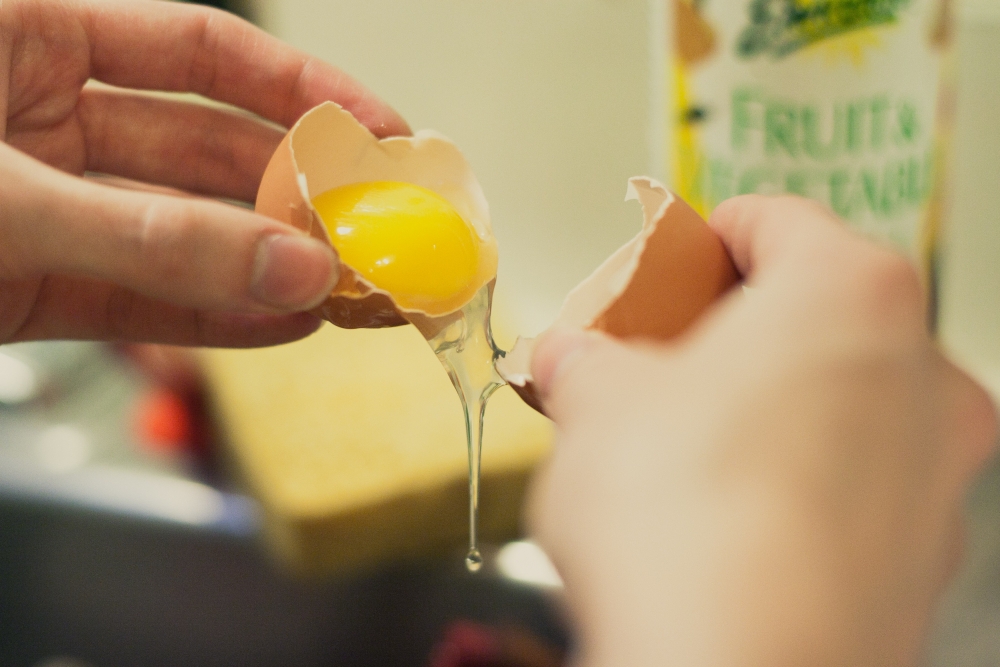
Make your egg wash. I can thank Mrs. Hattendorf for teaching me the shell-to-shell egg separating trick a million years ago. In my opinion, egg sparators are a useless kitchen gadget. . .
Take your leaves out and make the veins using the back edge of a knife. . .
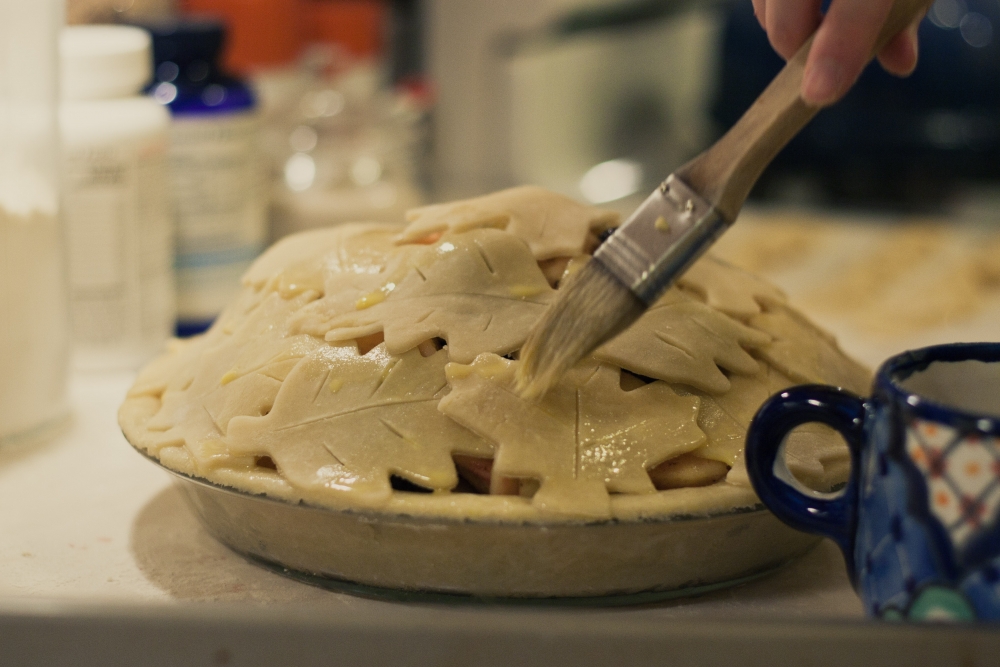
Use a pastry brush to brush the edge of the crust with egg wash, and the edges of the leaves as you overlap them, to help them adhere. Go around the edge of the crust and sort of spiral inwards. . .
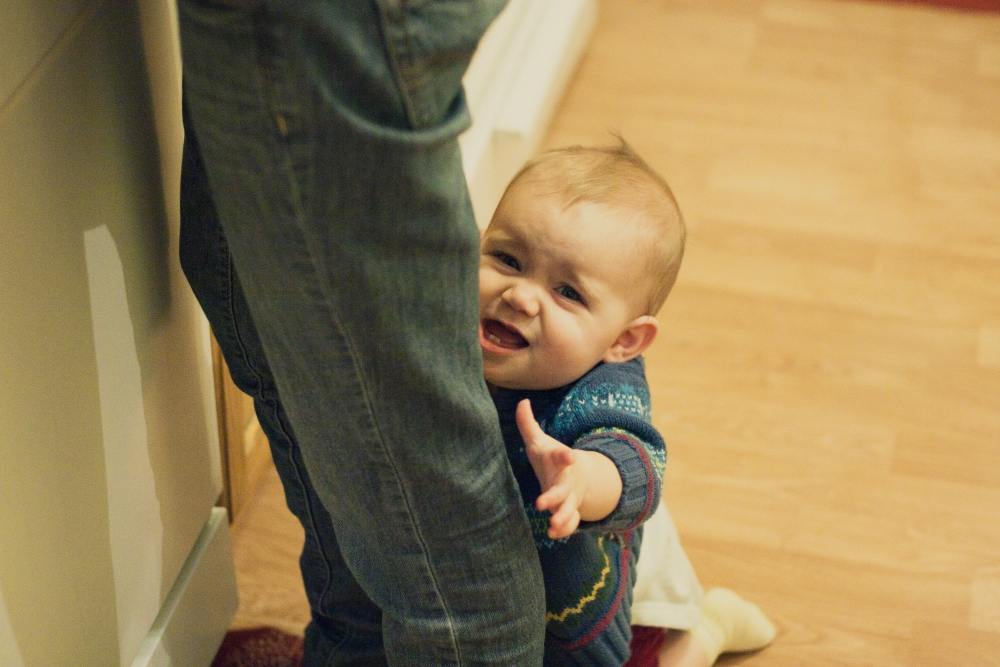
At this point Indy started getting a little testy. This is right before she angrily bit me in the leg. . .
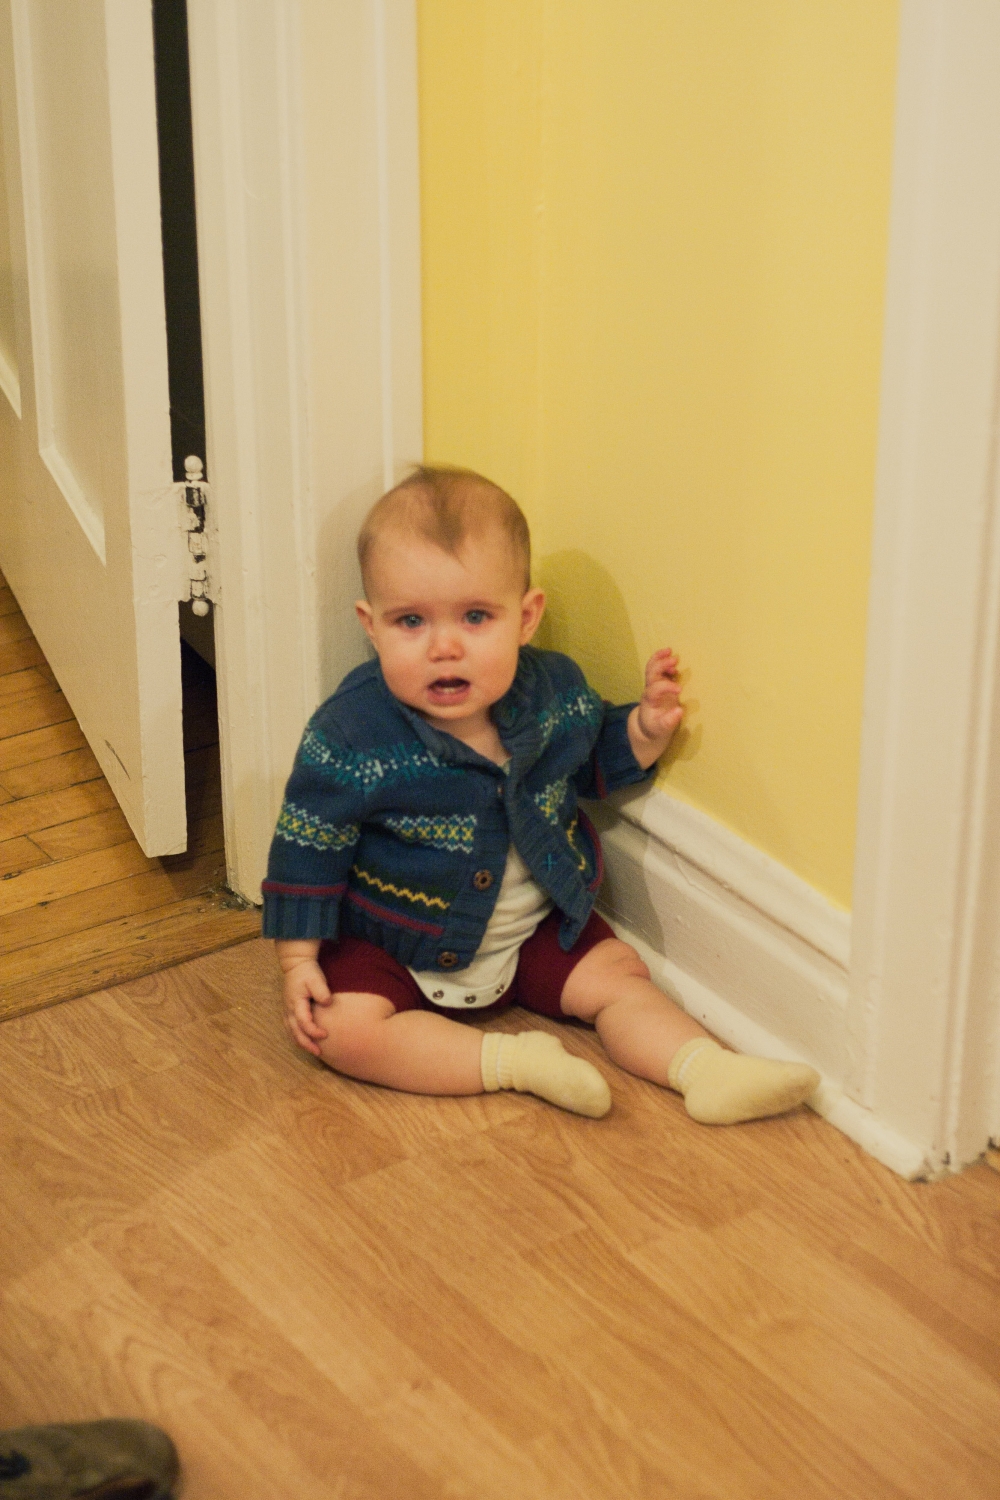
And then was unhappily exiled to the corner for a while. . .
Ah but the pie-making must go on. Brush entire crust with egg wash and sprinkle with sugar. . .
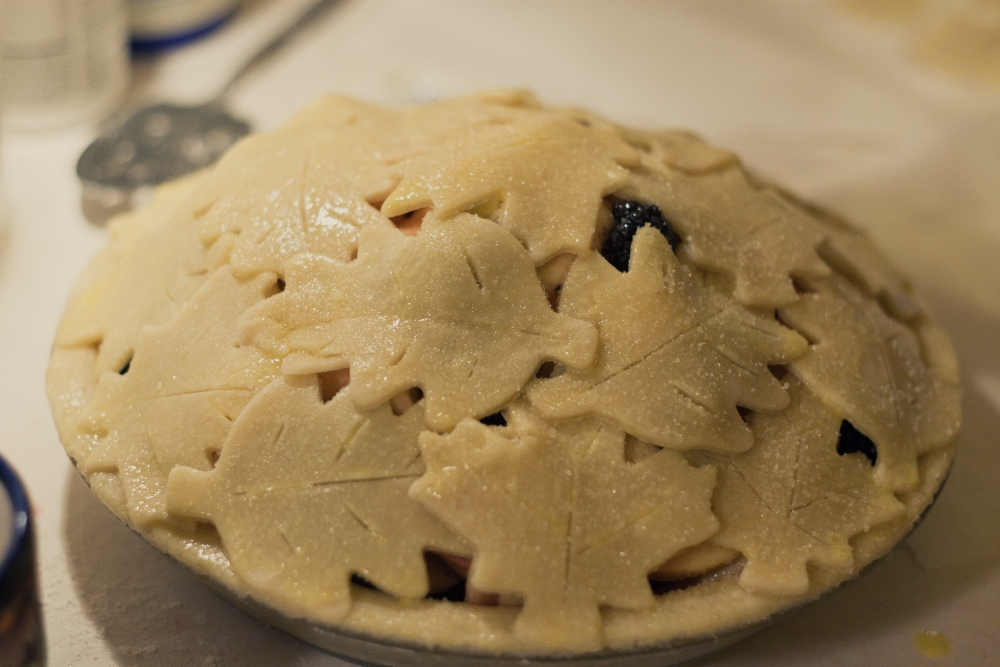
Place in freezer and preheat oven to 400 degrees. After 30 minutes, remove from freezer and place on a parchment lined cookie sheet and put in the oven for 20 minutes, or until the crust just starts to brown. . .
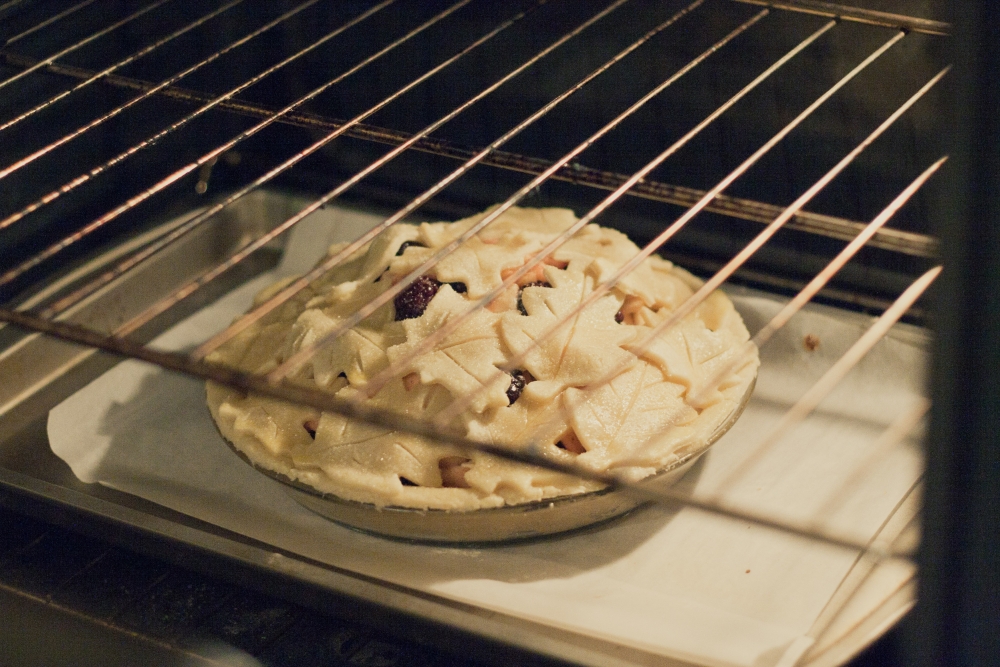
Then reduce heat to 350, and bake for another hour, until the crust is nice and brown and the juices are bubbling. Alan and Indy tuckered out waiting for the pie and fell asleep on the floor together humming Christmas carols. . .

When the pie is done, move it onto a cooling rack and admire. . .
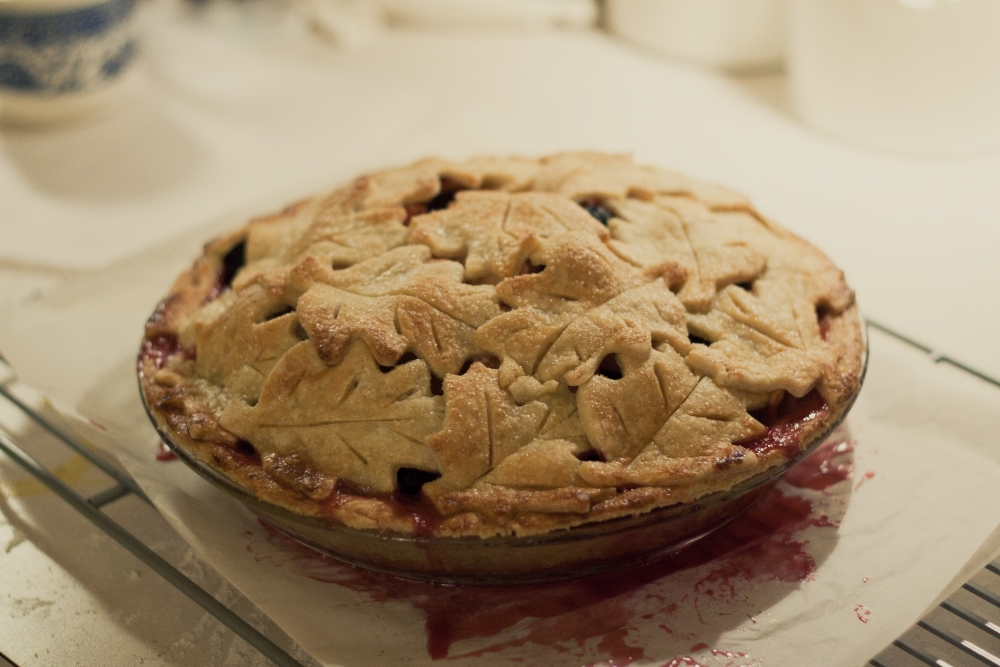

Delicious served warm with vanilla ice cream!