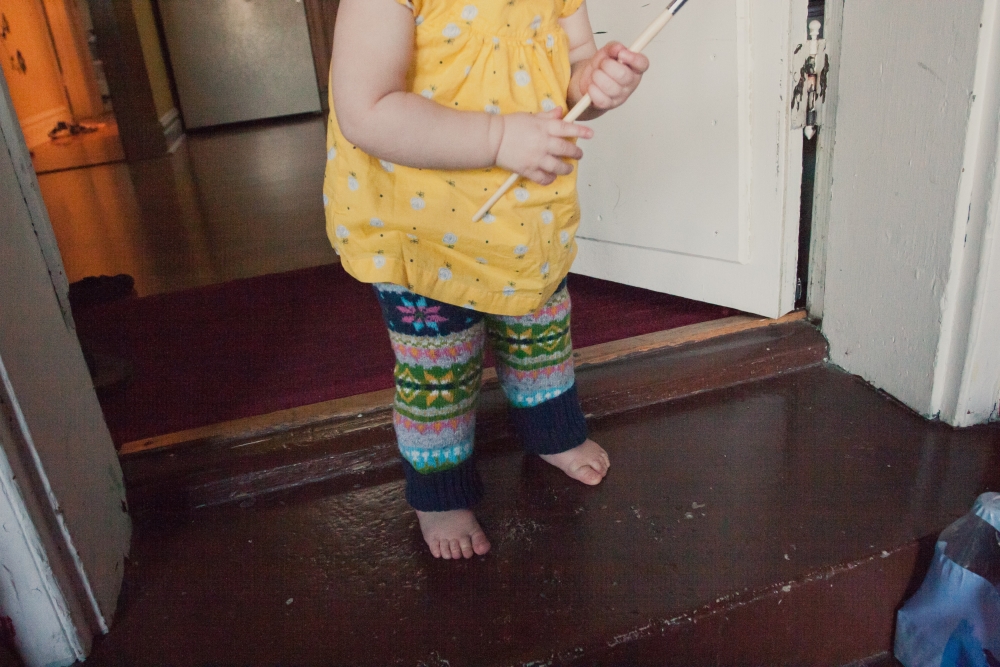
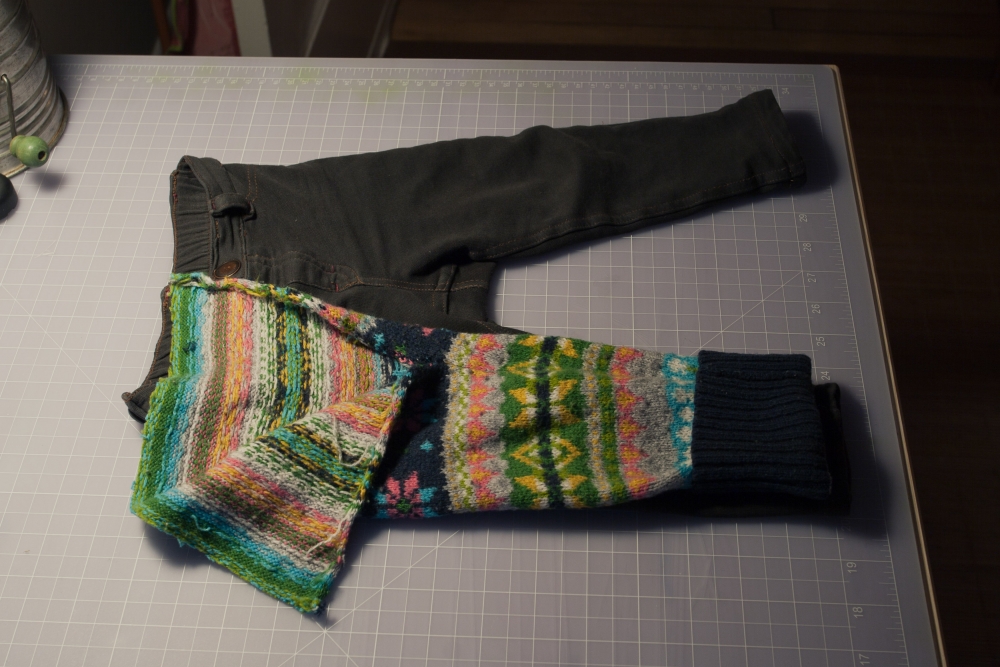
I love sewing baby stuff because 1) it's adorable and 2) it's usually super easy and fast. We've been purging our house and wardrobes and making big bags of stuff for Goodwill, but I always save anything that could possibly be repurposed. I loved the pattern of this sweater, but it was doing the "short and wide" thing, which I hate. Hopefully I'll be able to get several pieces out of it for Indy. First project: sweater pants. We're getting to the end of sweater season, but since the cuff is folded up on these I think I'll get another season out of them as leggings in the fall.
This is a pretty well known way to make baby pants, and can be found various places around the internet, including here. You can use any long sleeve shirt or sweater (and if its wool, it can double as a diaper cover!) Use a pair of pants that currently fit baby well to measure against. Cut the sleeves off the sweater slightly longer than the length of baby's pants to allow for a seam (I ran out of sleeve length, but since the sleeves were cuffed I didn't worry about it. If you legitimately run out of length, you can always cut a long skinny rectangle from elsewhere on the sweater to add a waistband and add length.

Use the pants again to determine the length of your inseam (keep seam allowance in mind again, it is better to cut a little too much and have ample room than to run out of room and have low-riding pants). Cut off the old seam or use a seam ripper (this will save some more fabric for you to work with). I was a little stingy with mine, but I also didn't want to lose length on the legs.
Do this to both arms, and then lay them together on the pants to see if the hip width will be okay. Mine were about right, so I matched my raw edges up directly, but you may need to cut them in a little to make them skinnier, or cut a rectangle of fabric to add some extra width. Make your adjustments, then turn both arms inside-out and pin or match your edges.
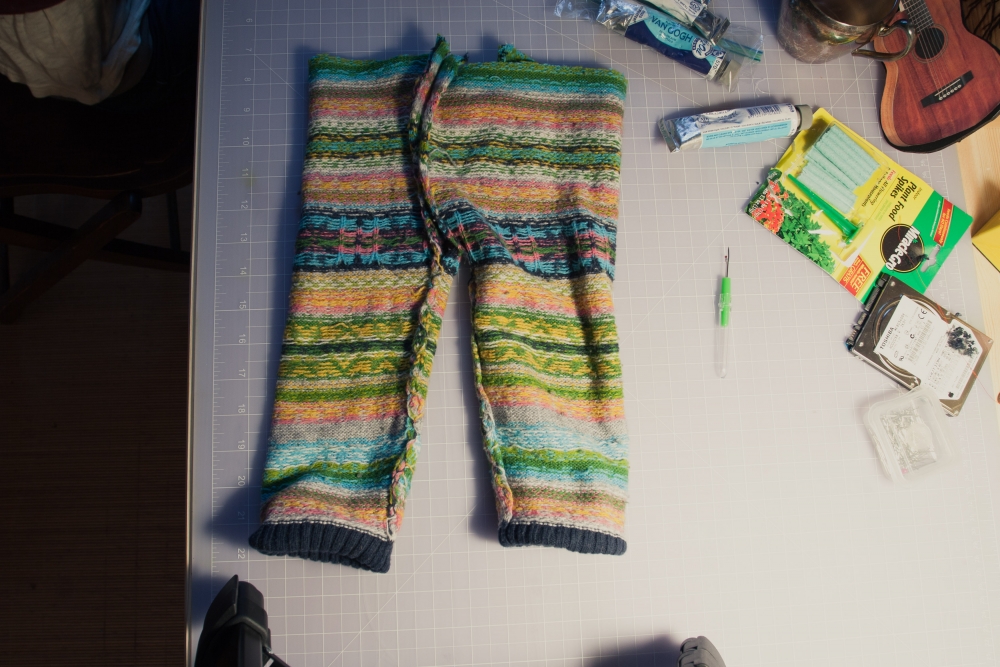
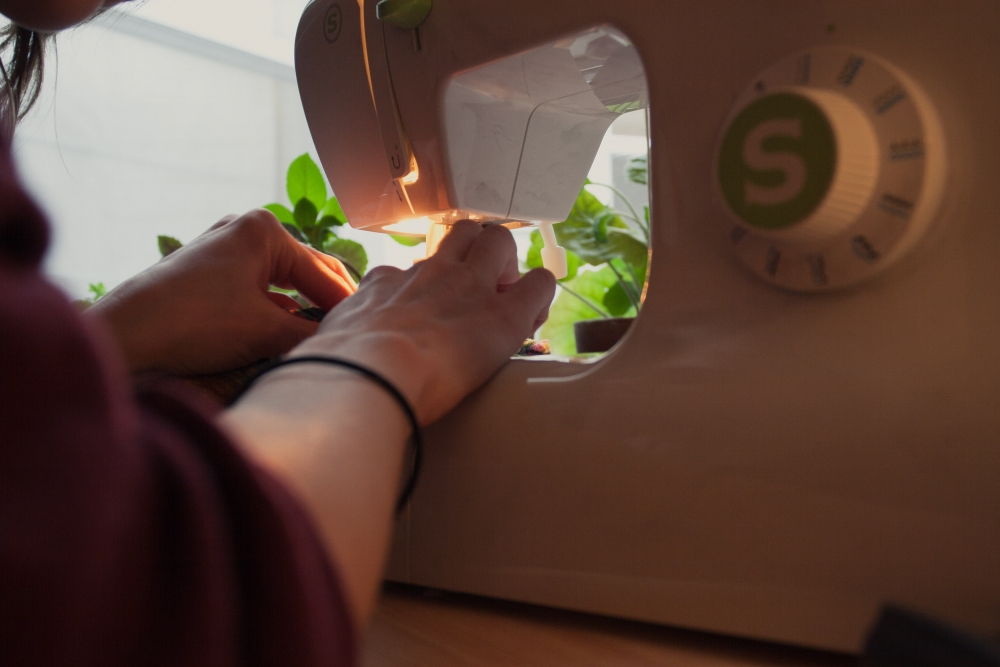
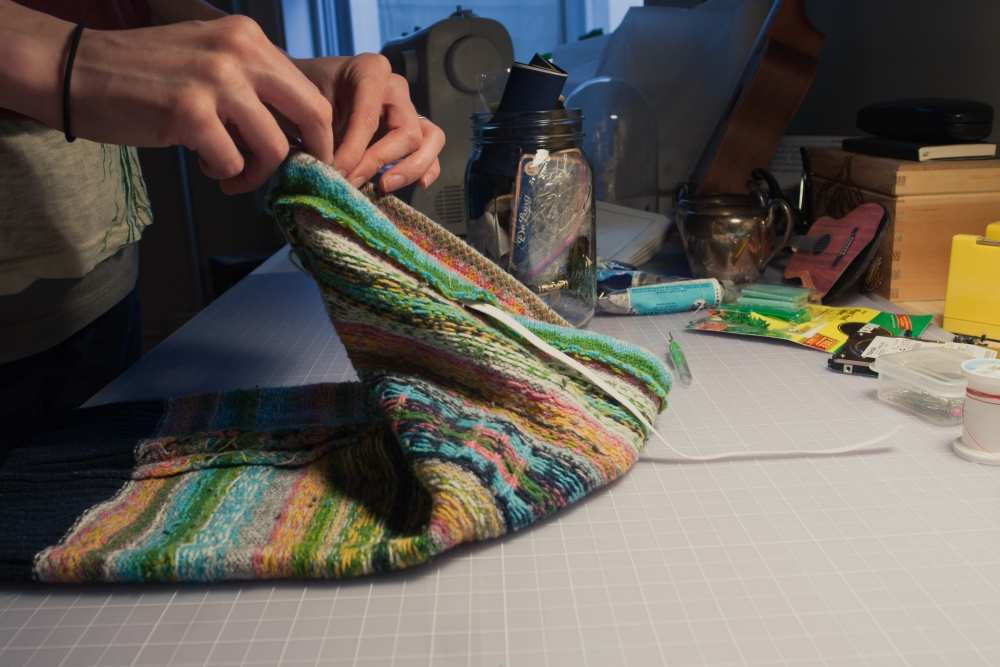
Sew in a big U, then turn right-side-out, fold the top down and in with enough space to accomodate elastic (I used 1/4 inch elastic, and so I folded down a half inch of fabric), and sew, leaving a one inch opening.
Cut a length of elastic about 2/3 the total length of the waist, attach a safety pin to one end of the elastic (this makes it easy to thread the elasic through), and thread it.
Then sew the two ends of the elastic together, and close the one inch opening you left. The End! Baby pants!

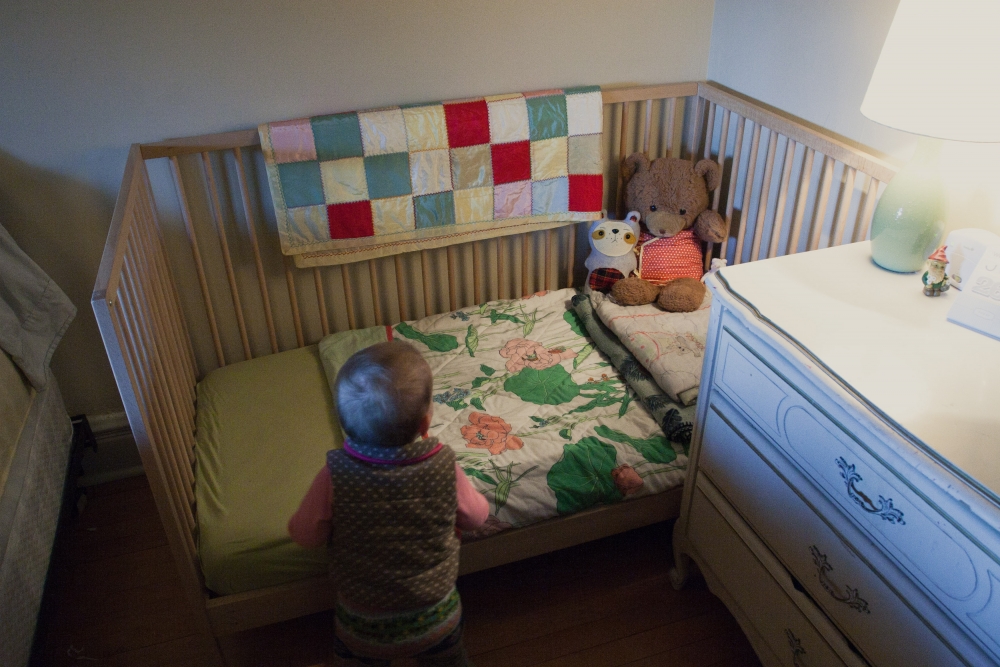
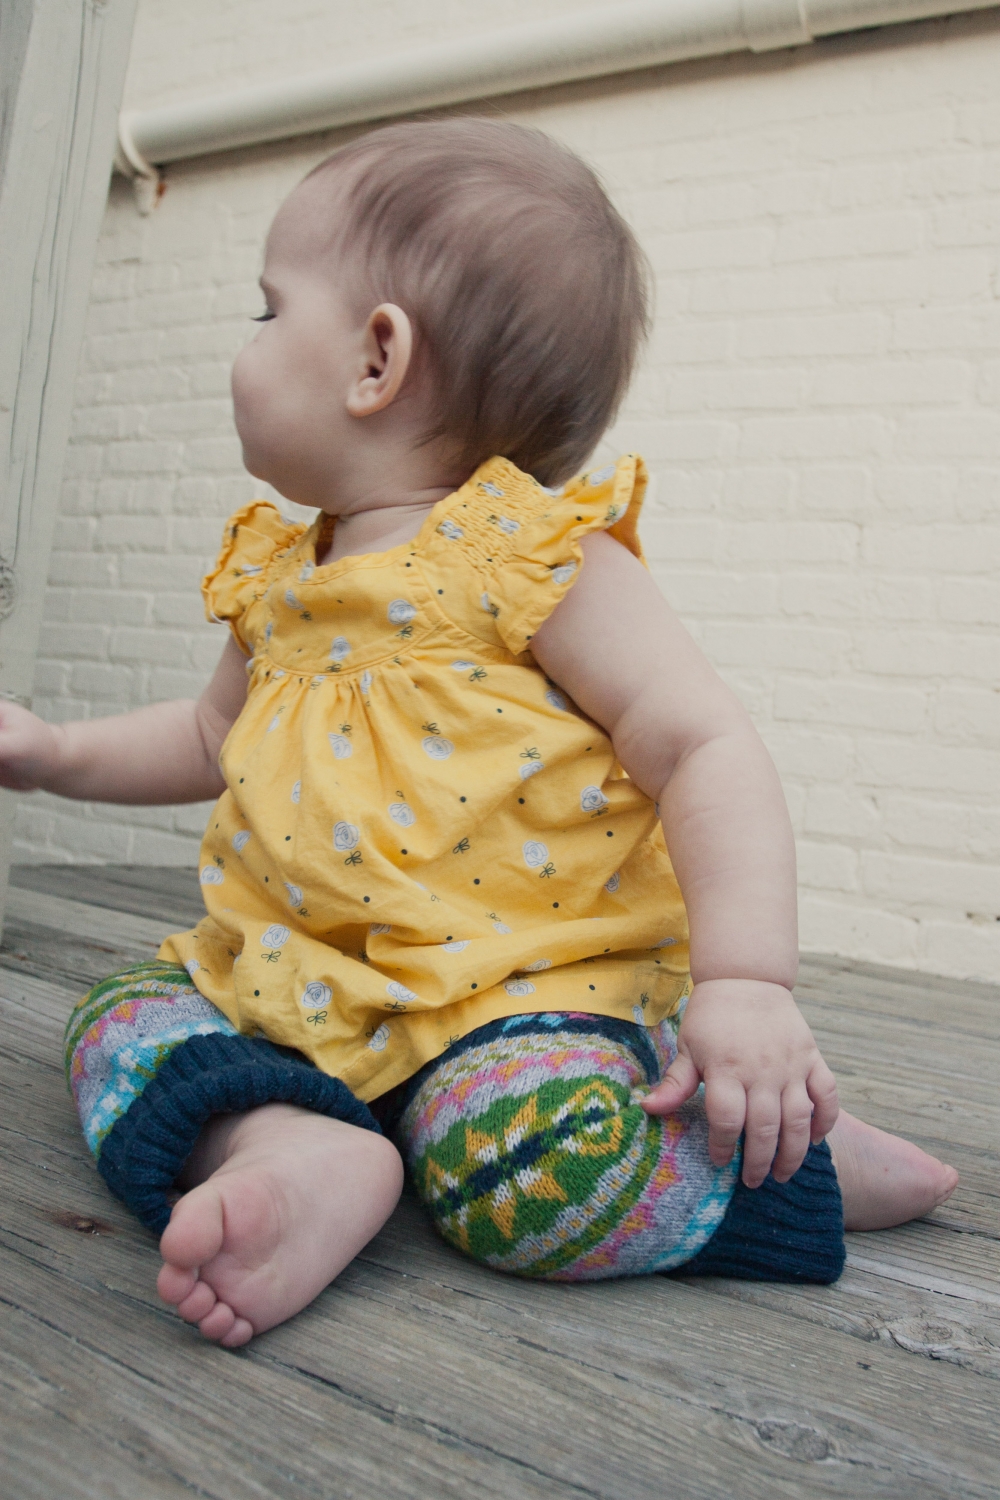
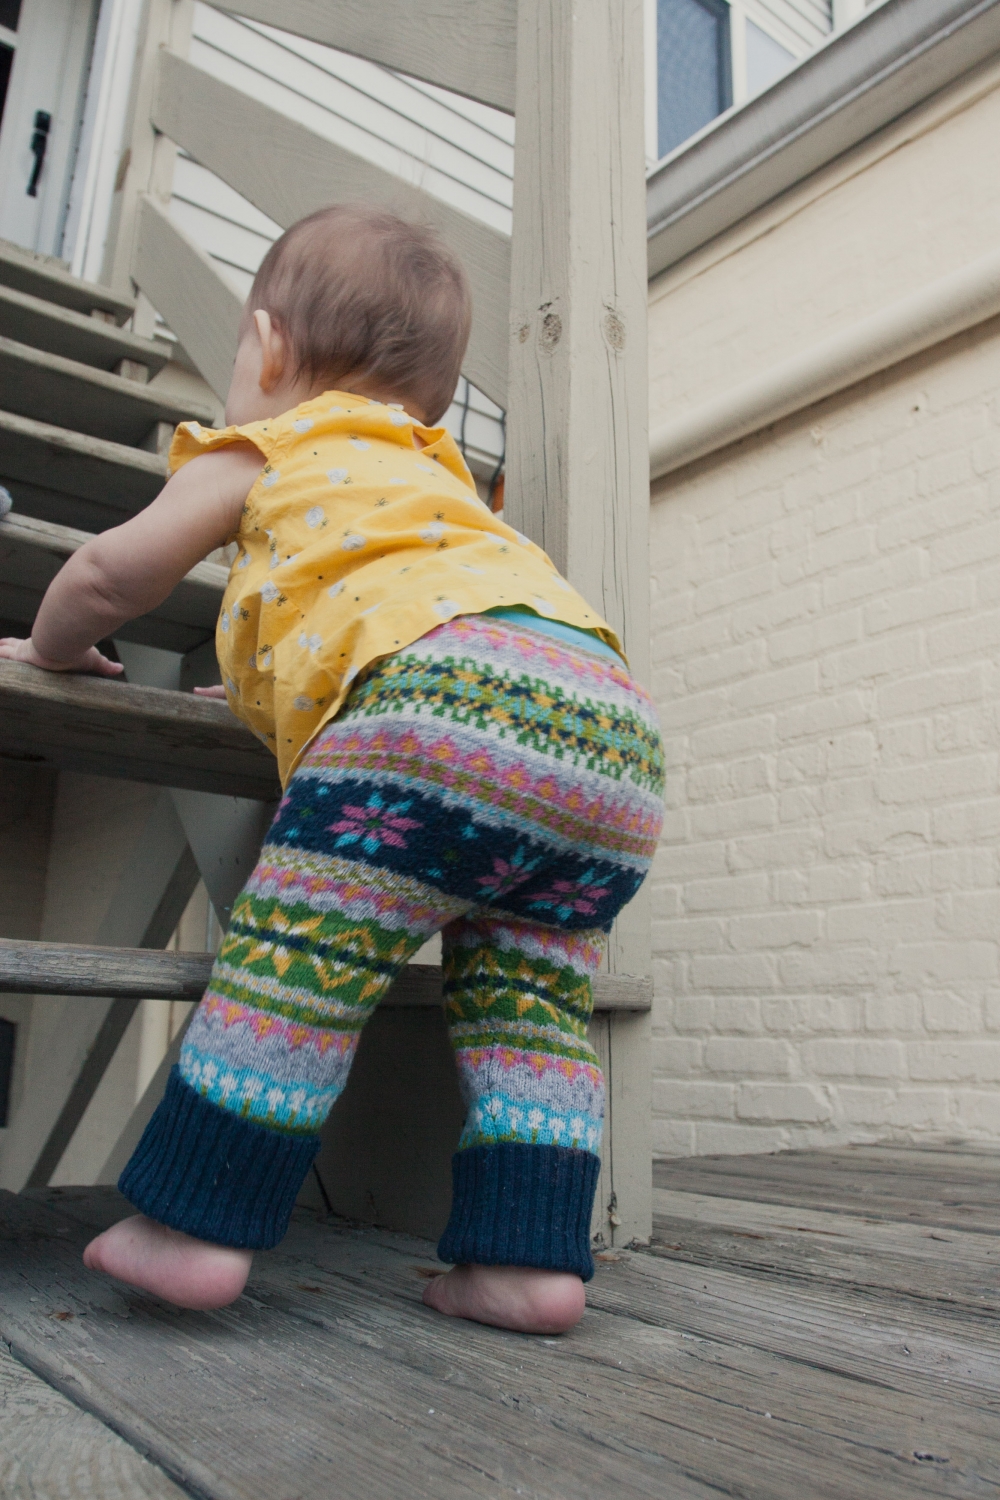
And that's right. . . it was so warm out today we modeled these outside in a short sleeve shirt!
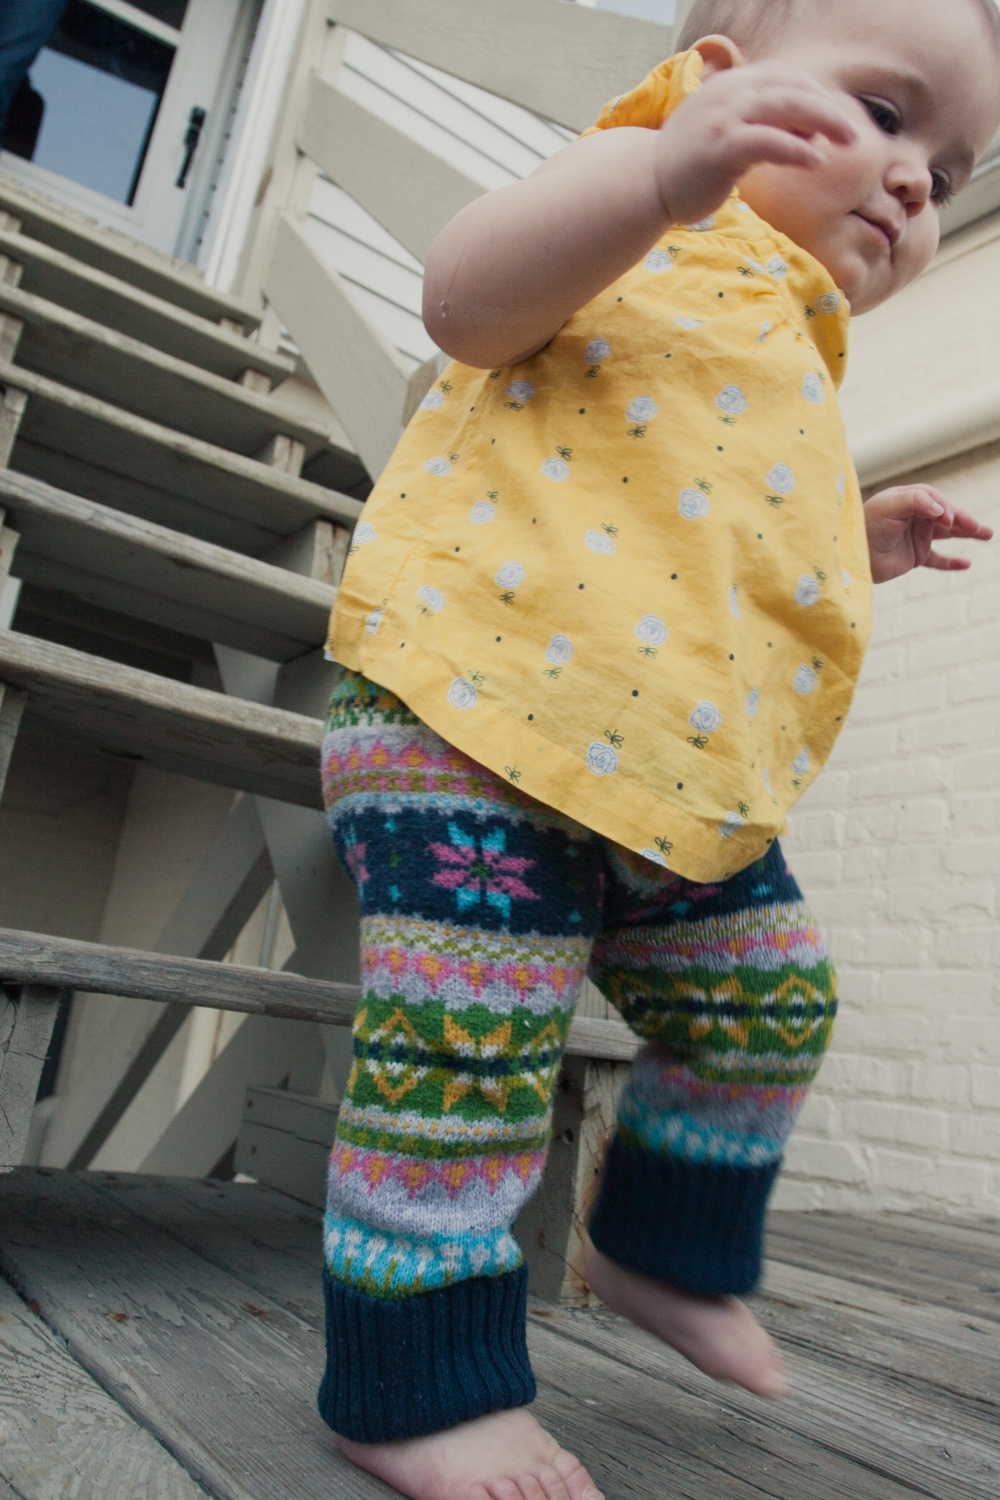
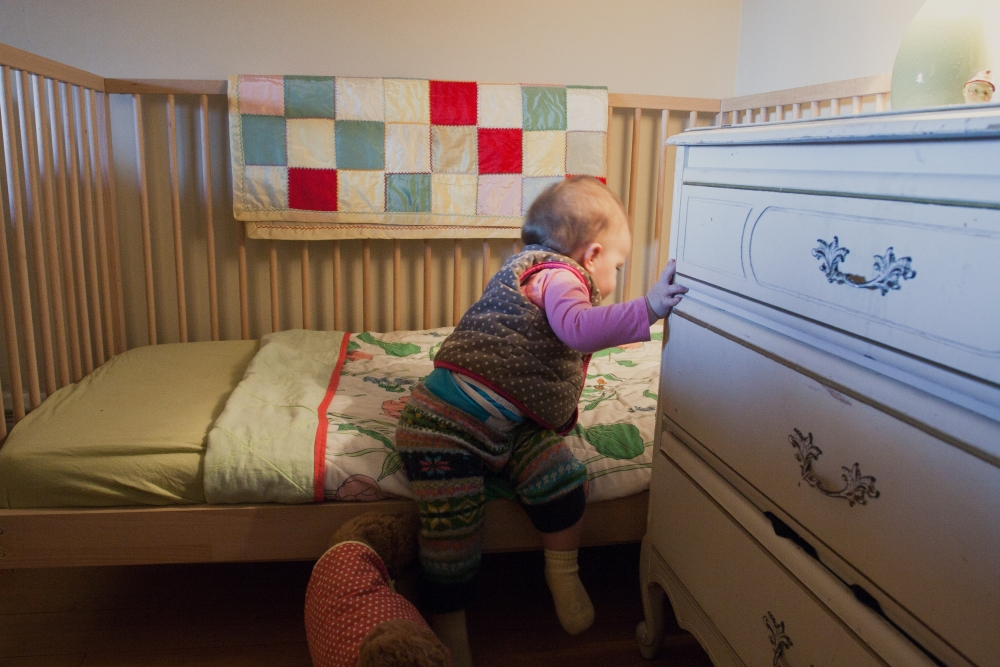
Awesome stair-climbing skills. . . commence. . .

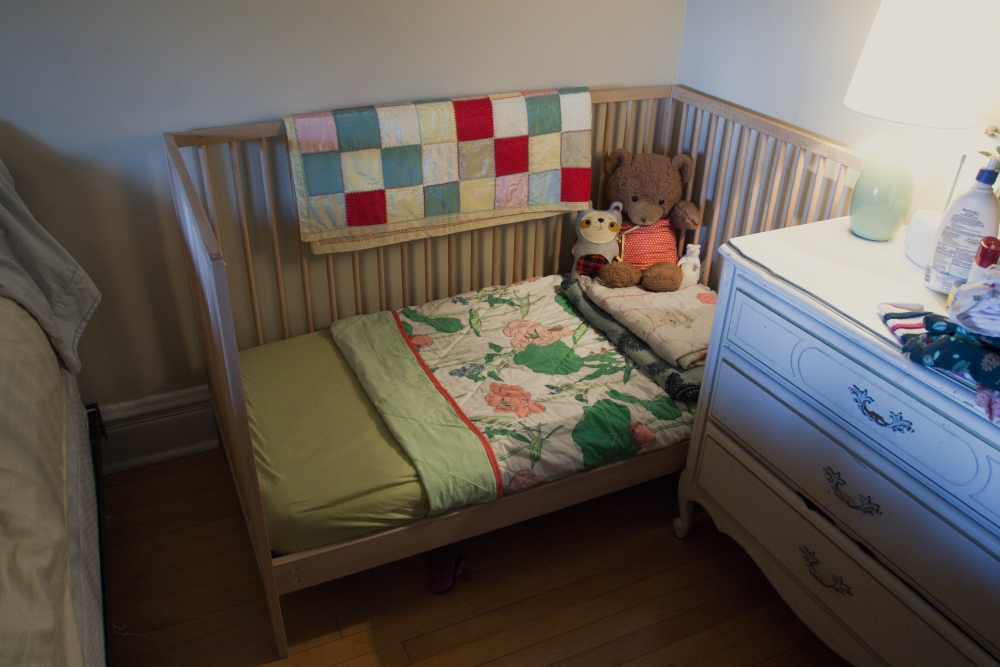
I'm bound to post several more baby sewing projects over the next few days (I'm working on a hat out of this same sweater right now!) so stay tuned!