Tibault & Toad

Posts from October 2011

recycled tshirt fitted

IMG_0040.jpg

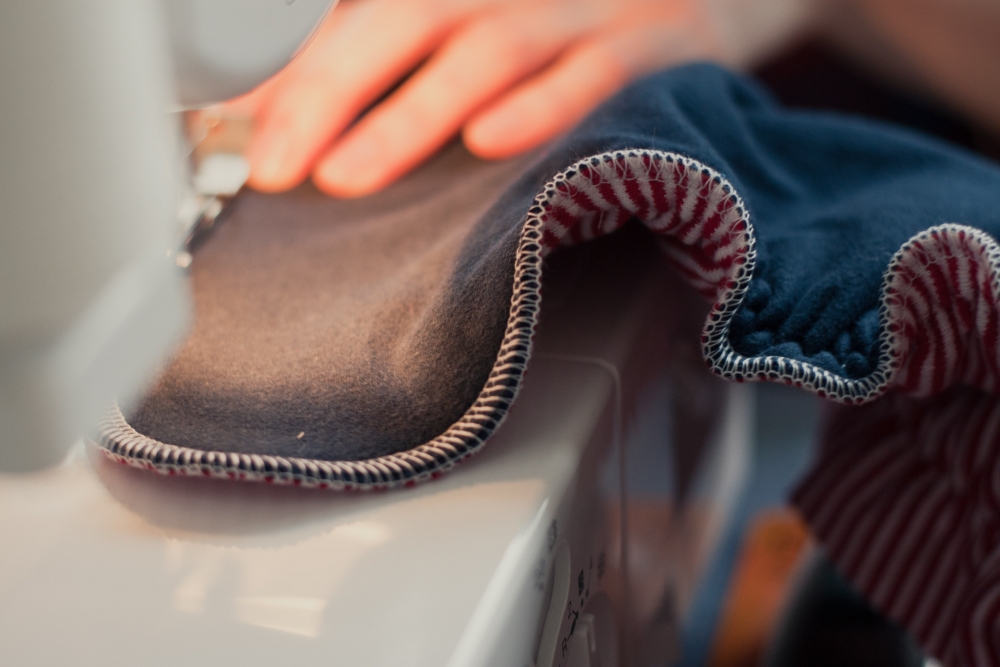
I was getting sort of sick trying to snappi 2 prefolds plus a doubler onto a wriggling Indy every night so I ordered a few fitteds online, but since they were taking forever and a day to get here I decided to try making a couple of fitteds, plus it gave me an excuse to give my new serger a go at a real project. I used some cheap thrifted tshirts, though if I like using them I might invest in something a little schmancier (a little organic cotton velour, perhaps?) I made this one 6 layers thick because its for nighttime, and it turned out THICK. I used the Babyville pattern that Joann's just started carrying, but I think most fitted patterns are about the same. I traced my pattern and then cut with an inch or two of allowance since I'm serging to finish.

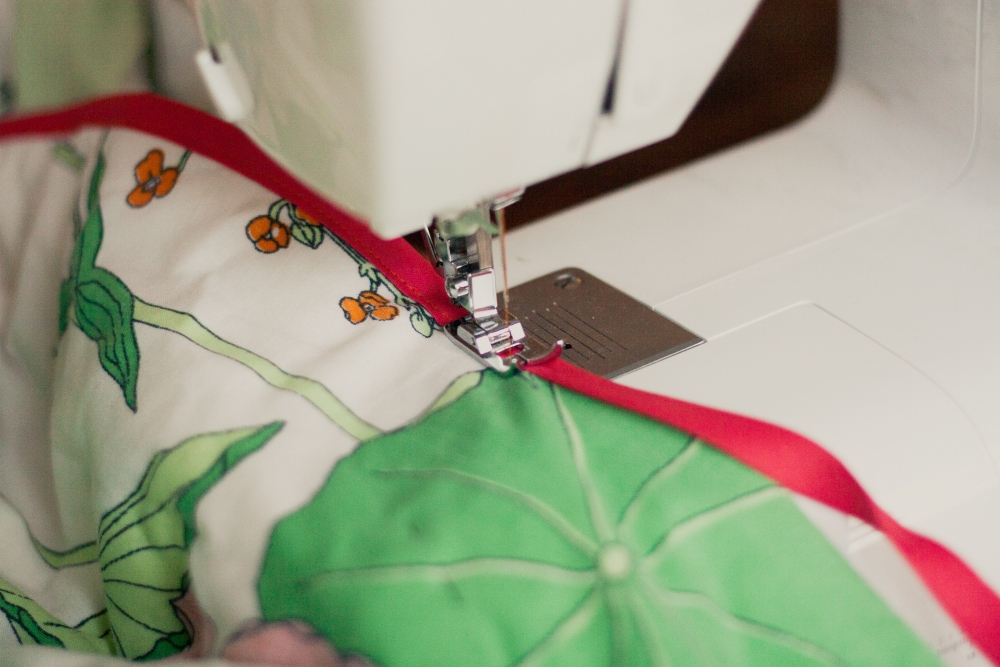
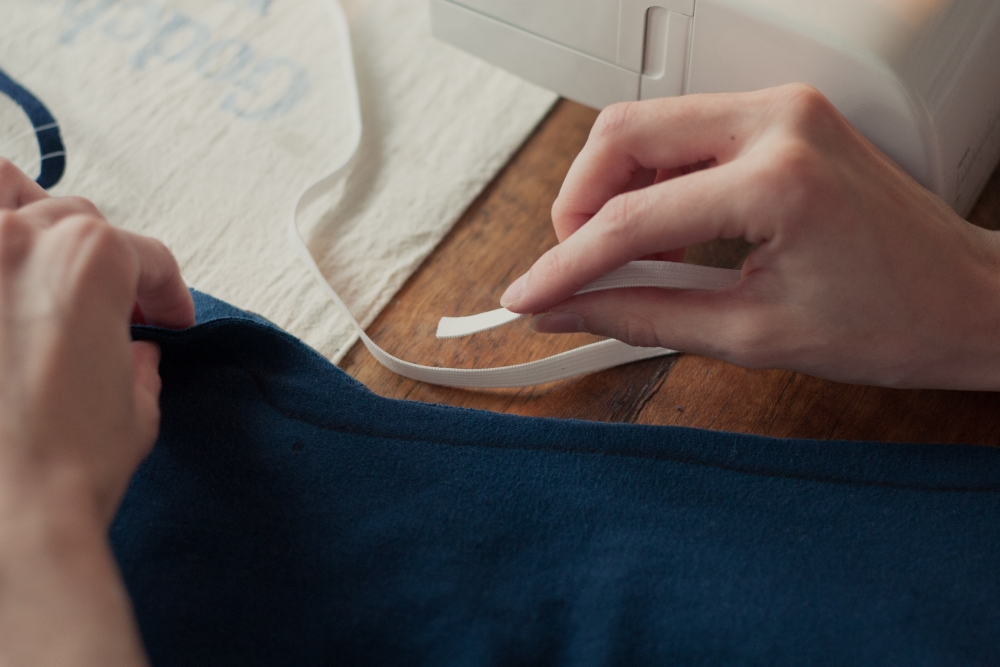
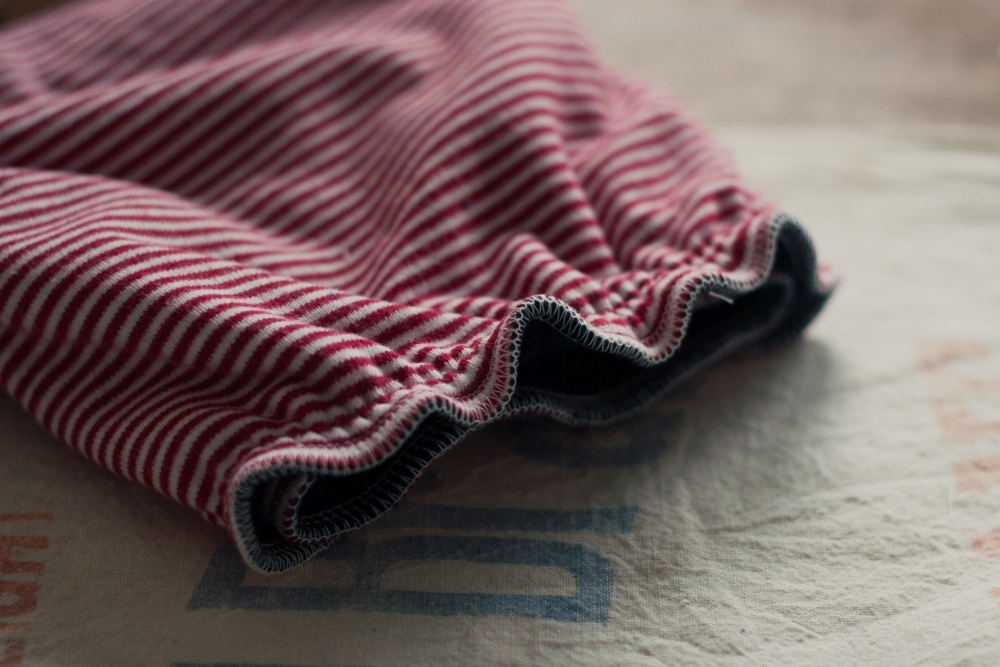
I sandwiched 1/4 braided elastic between the layers and attached it with a 3 step zig-zag stitch at the legs and back, though I used a straight stitch on a different fitted, and as long as you are careful to stay straight I think I might prefer that. The zig-zag turned out, I dunno, a little "bulky" or something. Stitch over the end of the elastic several times to tack it down, pull taut and sew using your preferred stitch, and then sew several times over the end to finish off.

IMG_0080.jpg

diaper1.jpg

diaper2.jpg

As always. . . a little bit of THIS was going on:

IMG_0084.jpg

Then I serged to finish off the edges, and traced and serged some inserts as well. I still haven't found a a way of finishing off my serging that I like. I found some tips online but haven't really liked any of them yet. Any suggestions would be greatly appreciated.

IMG_0121.jpg

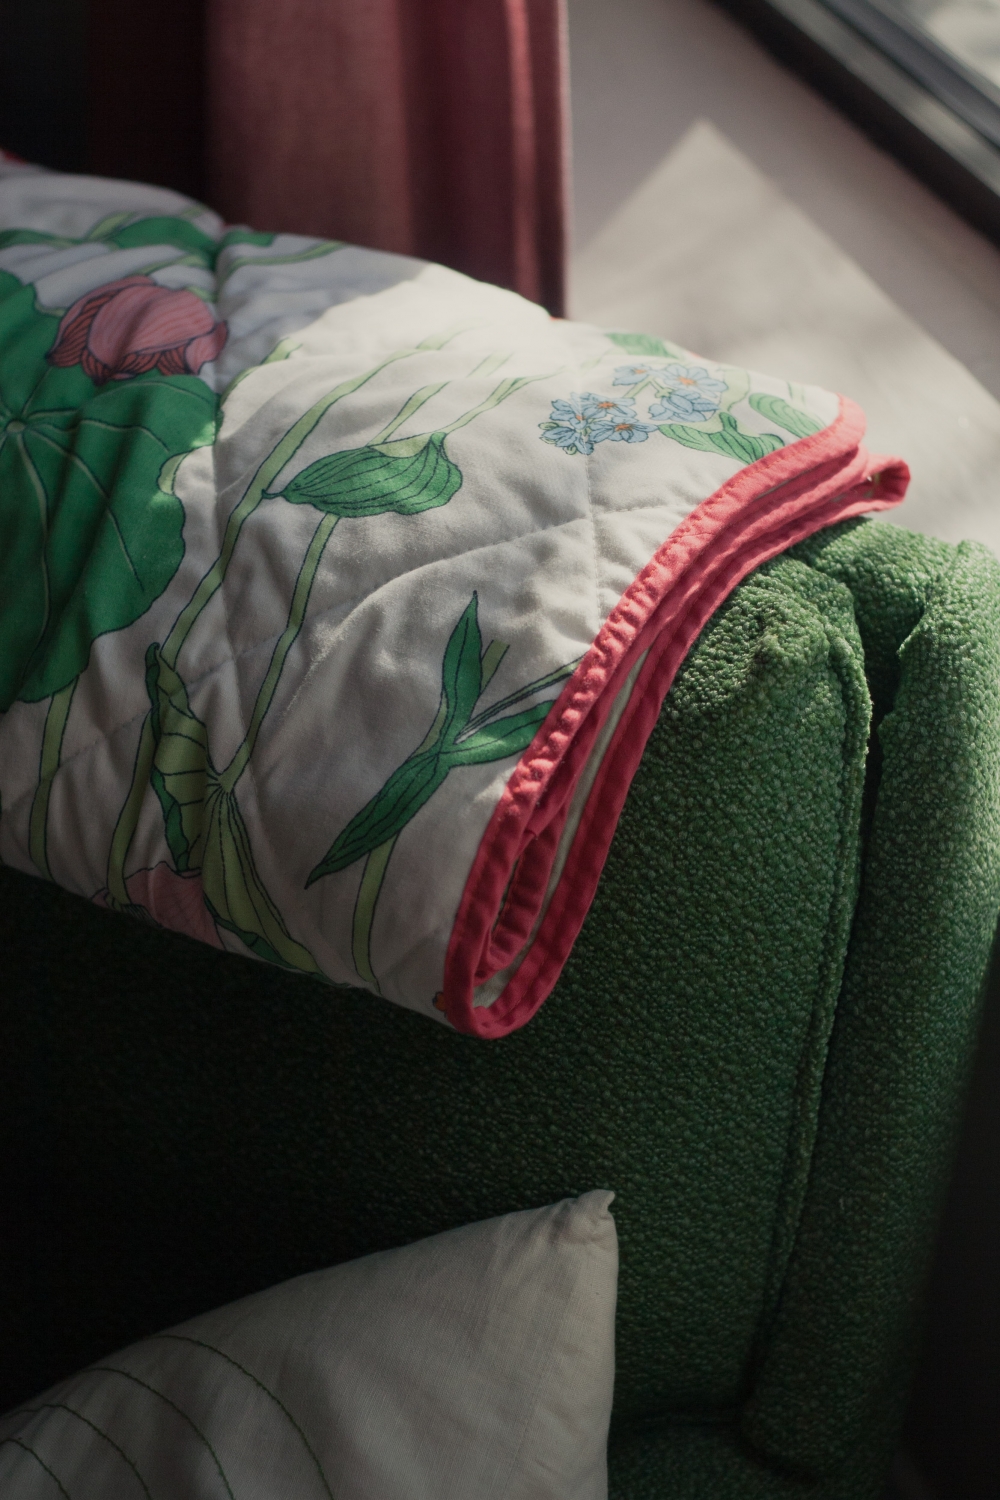
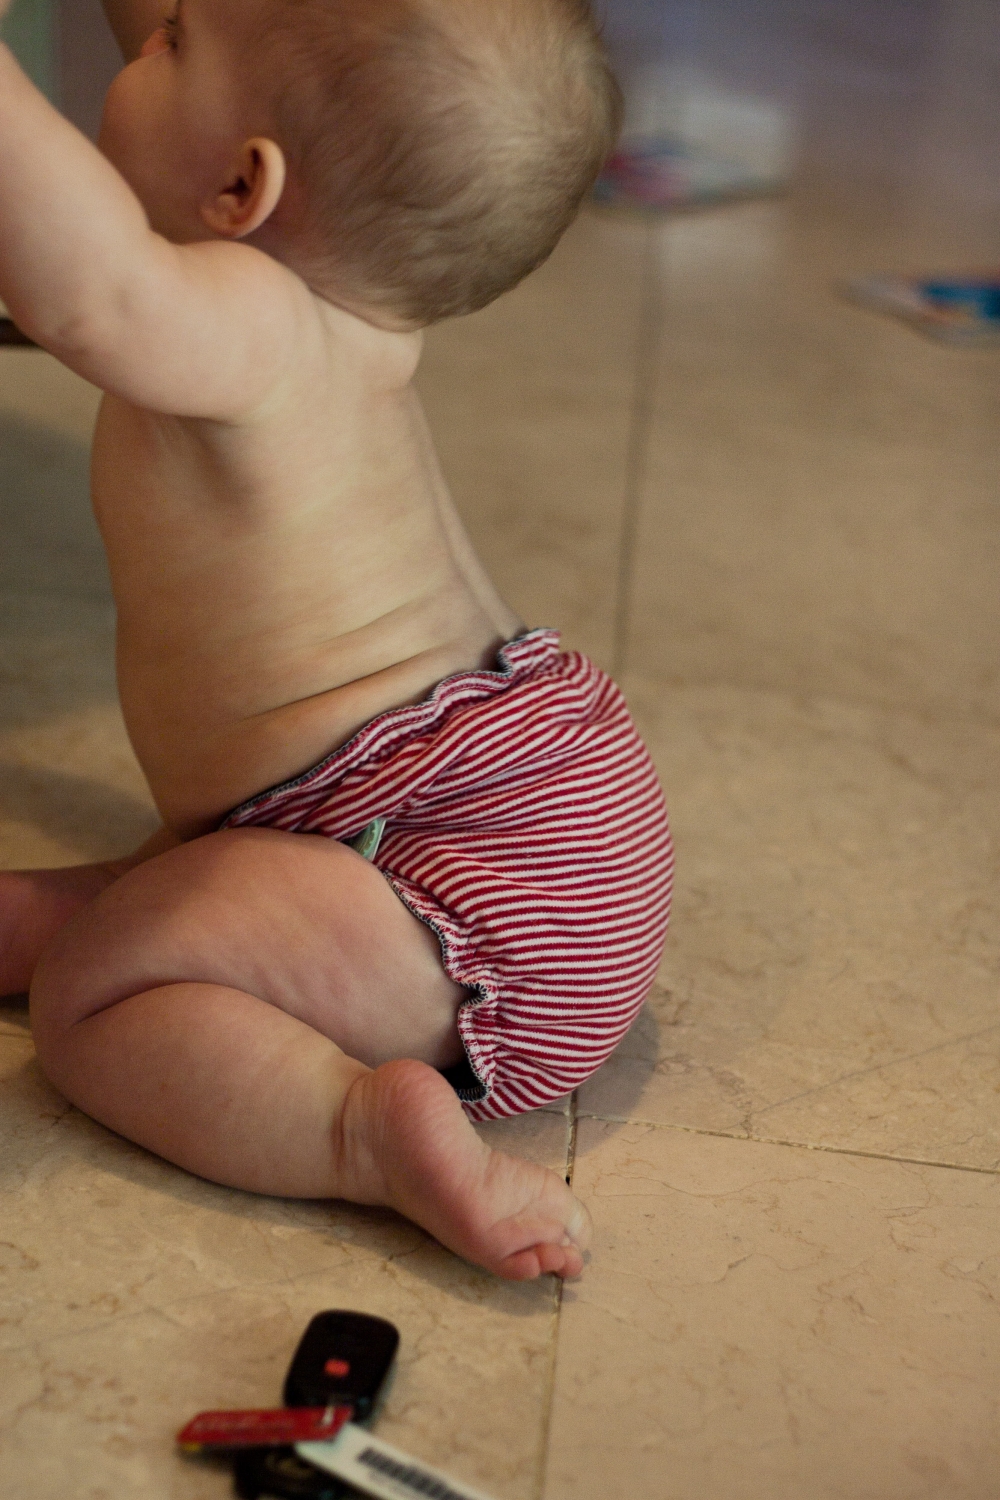
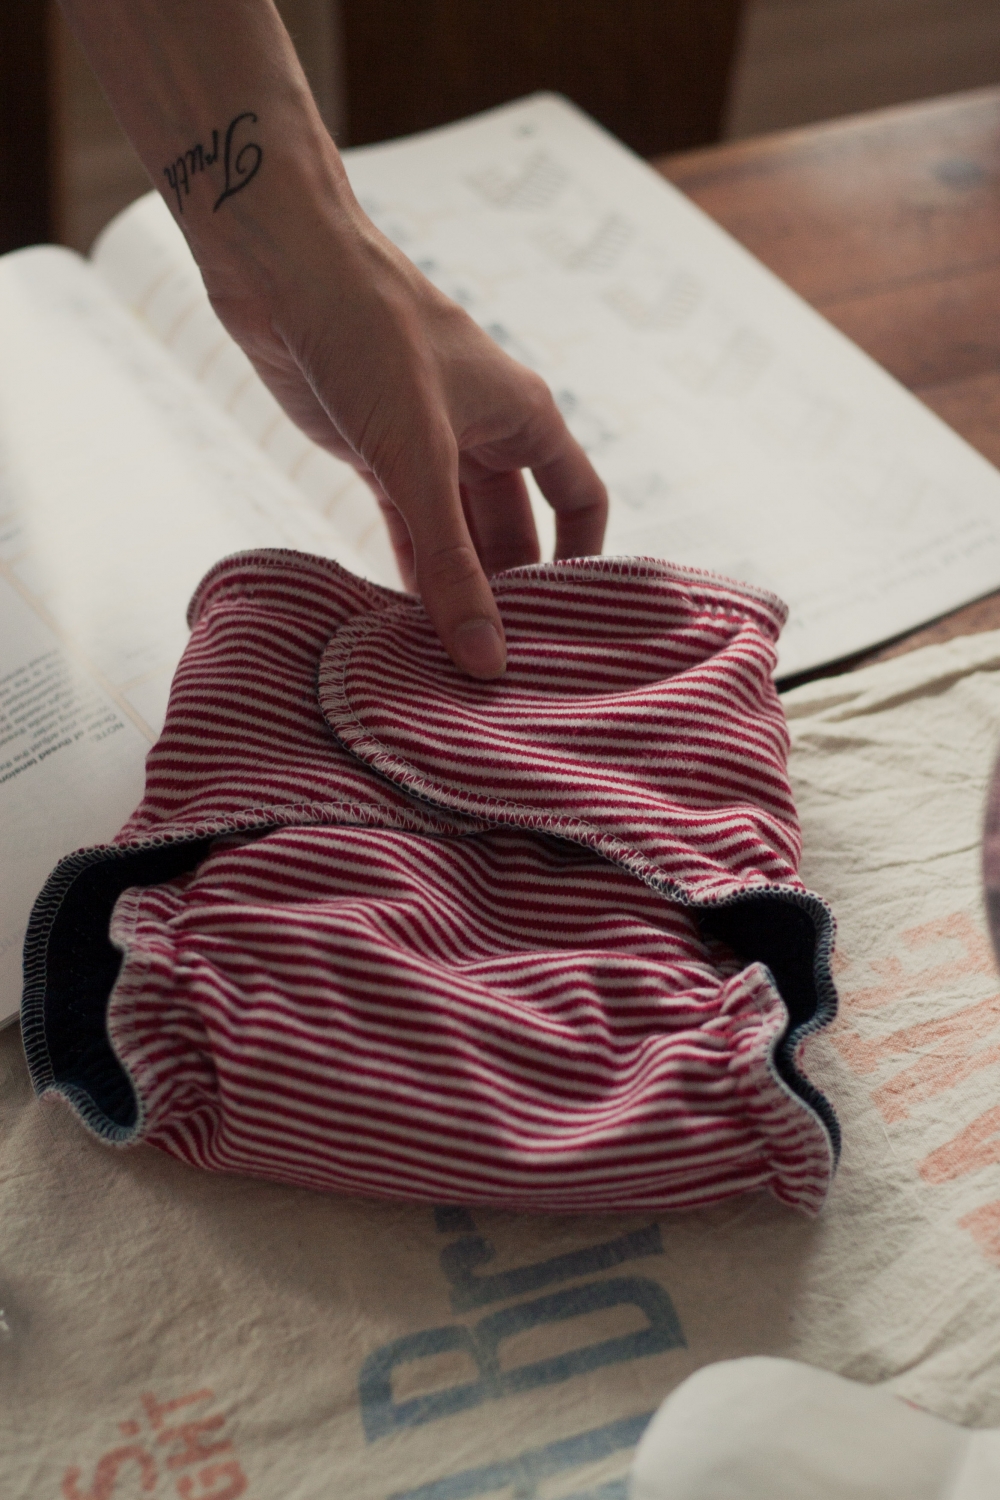
Anyways I turned out pretty well. I planned on using pins to fasten it, but its so thick they won't go through the fabric! I'm using a snappi for now, though it doesn't work that great with jersey. Maybe some snap pliers are in my future?

IMG_0157.jpg

IMG_0158.jpg

IMG_0041.jpg

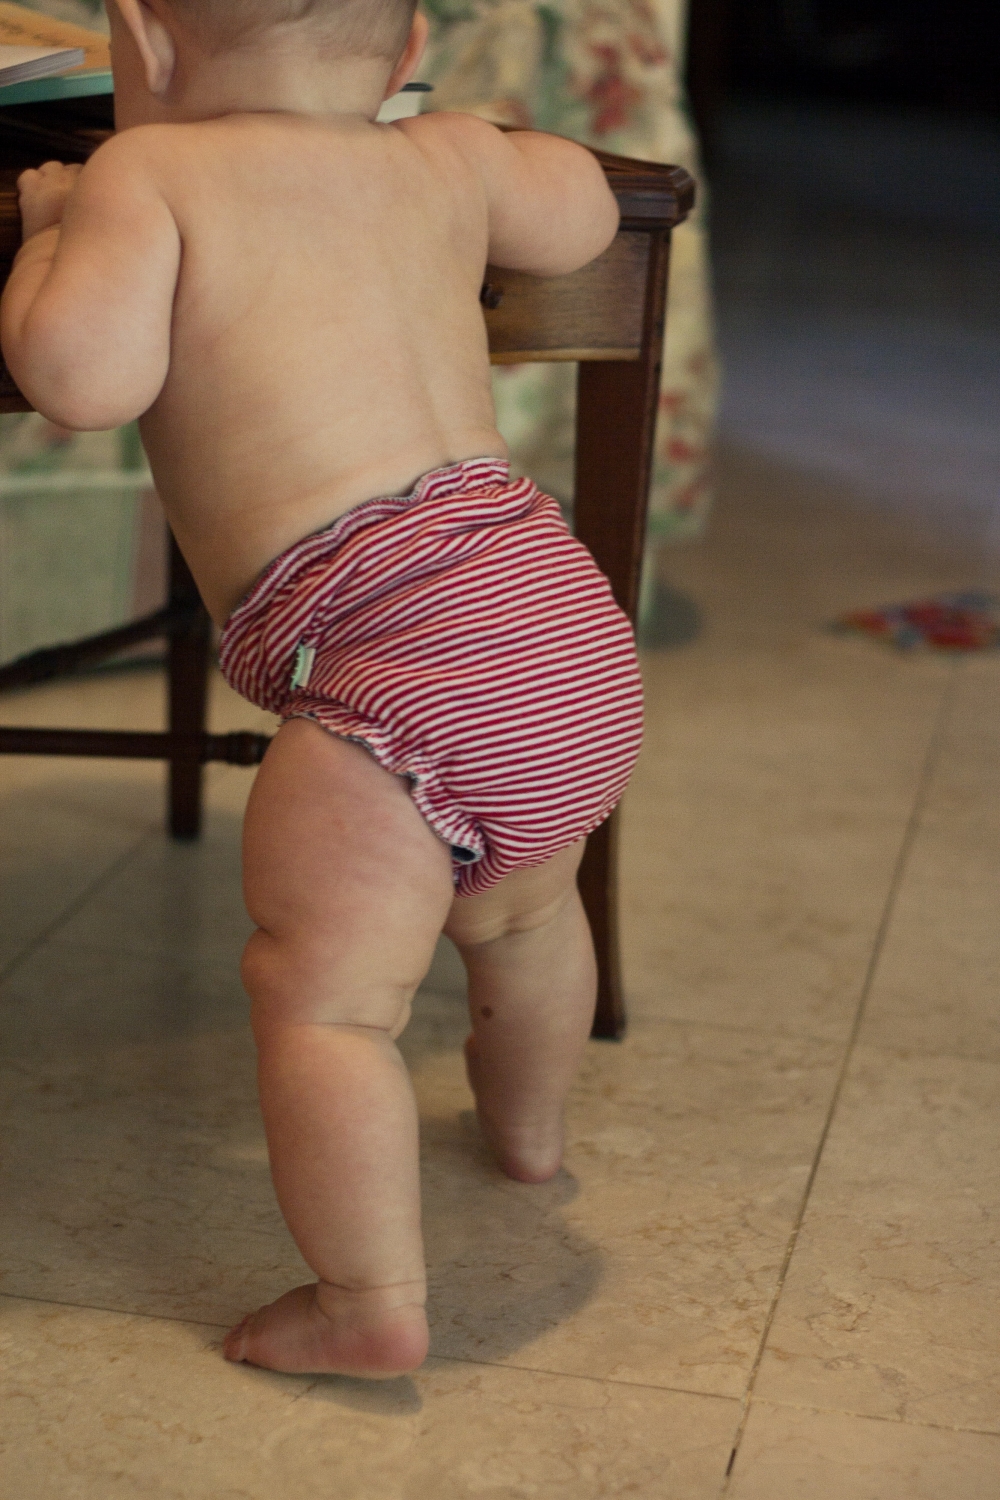
And for your viewing pleasure. . . ROLLS!

IMG_0038.jpg

Pin It

vintage sheet baby blanket

blanket1.jpg

Indy inherited my baby blanket, which I. . . ahem. . . may or may not have been sleeping with up until the day she was born. But it's getting a little threadbare, plus I really wanted her to have a blanket of her own which would be both beautiful and meaningful. I picked up this sheet at Salvation Army a while ago with the hopes of using it on our guest bed, but it turned out to be a full, not a twin, so I decided to use it for this purpose instead. I really love the water lily pattern. I paired it with an old sheet of ours which we haven't really been feeling the love with anymore, sandwiched some cotton batting inside, did some straight-line quilting, and finished it off with rounded corners and pink bias tape.

Of course, I changed my mind about my quilting approach after I had already sew on the bias tape, so I spent a good while sitting on the couch with the seam ripper (that seems to happen at least once a project). But it's all serving to make me a better seamstress right? Right. I did my quilting diagonally in each direction at about 5 inches apart.

Another recently new sewing goody that came in the mail was a nice big self healing cutting mat and a rotary cutter. I've definitely found the rotary cutter love, and I'm sure I would have loved it even more if I hadn't run over a pin on one of my first cuts and made a little nick in my blade which resulted in a sort of elongated perforation that called for repeated cutting for the remainder of the project. But STILL way better and faster than scissors, and when paired with some kind of straight edge, getting nice straight edges is super fast and easy. I flip a bowl upside down and use the edge of the bowl and the cutter to make nice smooth, uniform rounded corners.

IMG_0012.jpg

Then I reattached my bias tape.

IMG_0003.jpg

I'm really happy with the final result.

IMG_0170.jpg

Pin It