
recycled sweater sleepsack
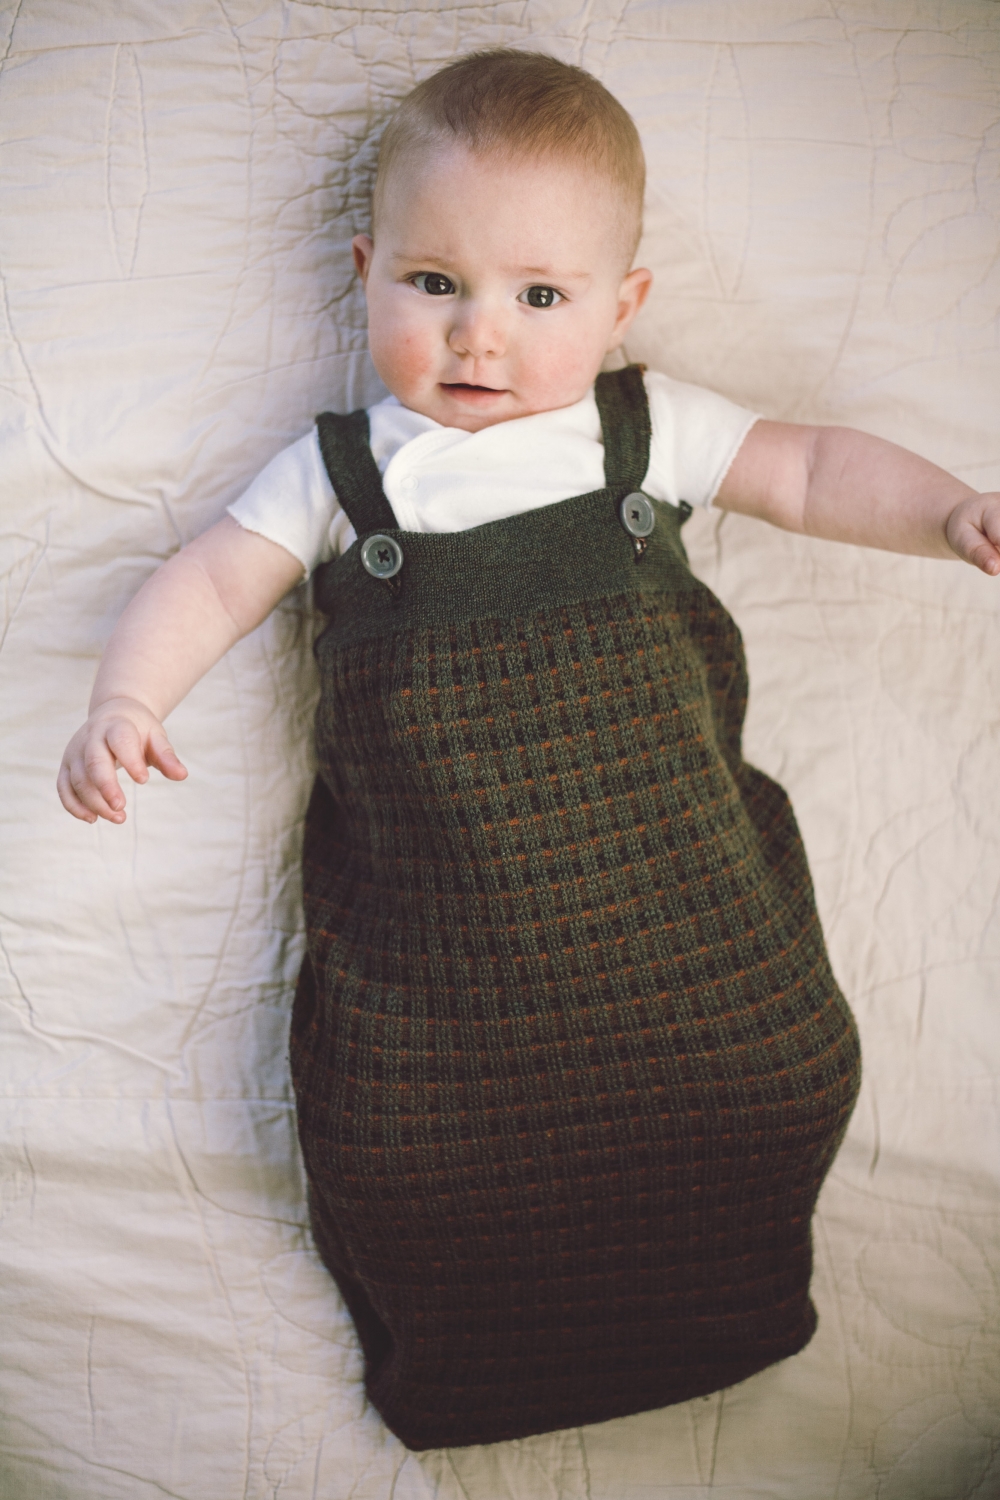
Tenny's swaddling days are coming to an end. Wah wah. . . both my babies loved being swaddled, but now that he regularly breaks out of his swaddle (even one of those blankets with the velcro tabs!) and rolls to his stomach (both of my babies also turned into tummy sleepers!) we're slowly starting to phase the swaddling out. Enter the sleepsack. It keeps baby warm, can't be kicked off, and they can't get all tangled up in it. I have always wanted one of these merino wool sleepsacks, but 60 bucks for the larger size is more than I want to spend right now. Instead, I picked up a couple of wool sweaters at the thrift store for a few bucks each and made my own. I think the process is pretty straight forward (and y'all just seem so darn crafty!) so this is really more just general guidelines.
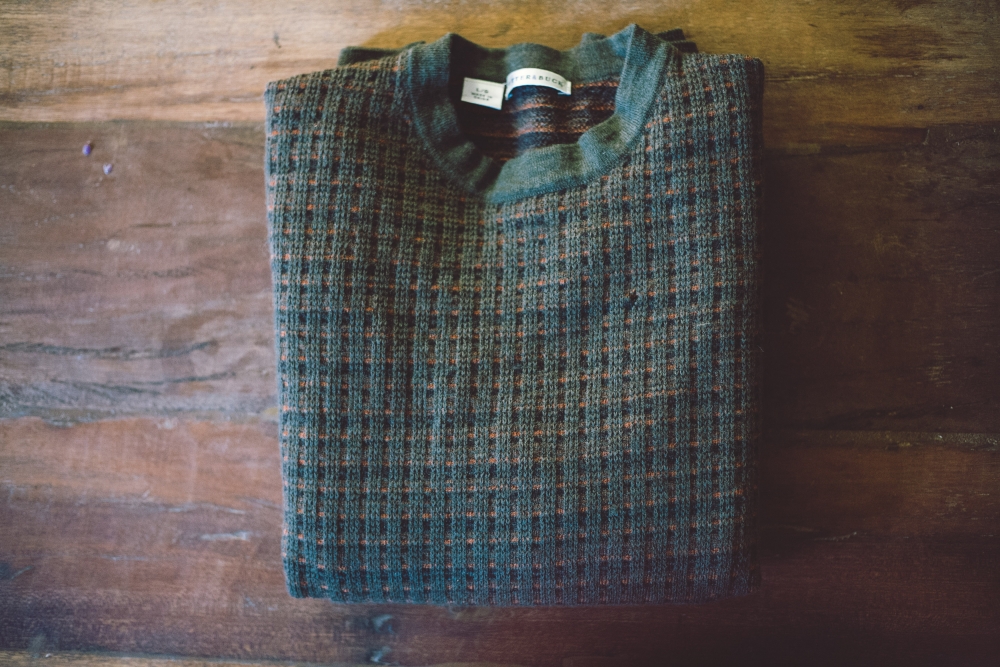
Step one: collect some sweaters. I really recommend wool. It's like magic! Warm in the winter, breathable in the summer. Both water resistant and very absorbent, it can help prevent diaper leaks for both cloth and disposable diapered babies. Look for fine 100% wool, like extra fine merino or even cashmere. When in doubt, check the sweater against your neck to make sure it isn't scratchy. At home you can machine wash on the gentle cycle (this may cause some shrinkage, which I don't mind because I make a point of buying nice big sweaters,) or hand wash with a nice wool wash like Eucalan. You can even lanolize (a process of adding back in the natural oils) for extra softness and leak protection. Tumble dry very low or lay flat to dry. Because wool is self-cleaning, you will rarely need to wash your sleepsack, even if peed on. Just allow to dry and then give it a sniff - I promise it will smell fresh and clean! In the rare case that it gets something worse on it, hand wash to avoid any extra shrinkage.
Meanwhile. . .

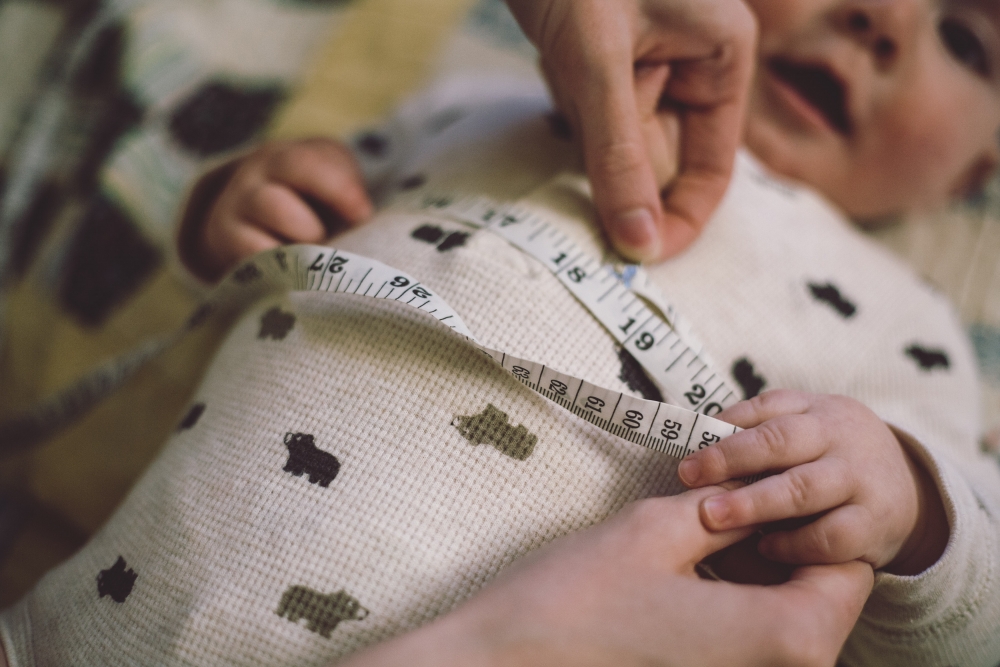

Measure the babe! Not hard when he's this cute. Measure under the armpits around the chest and divide by two for the width, and measure armpit to outstretched toe for length.
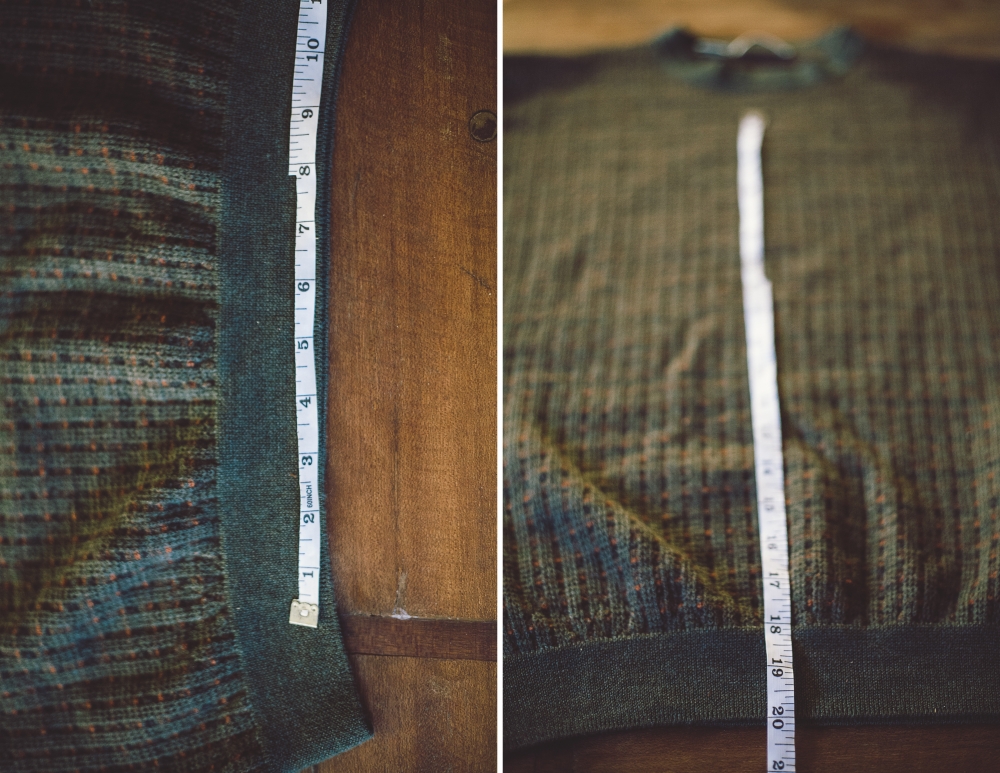
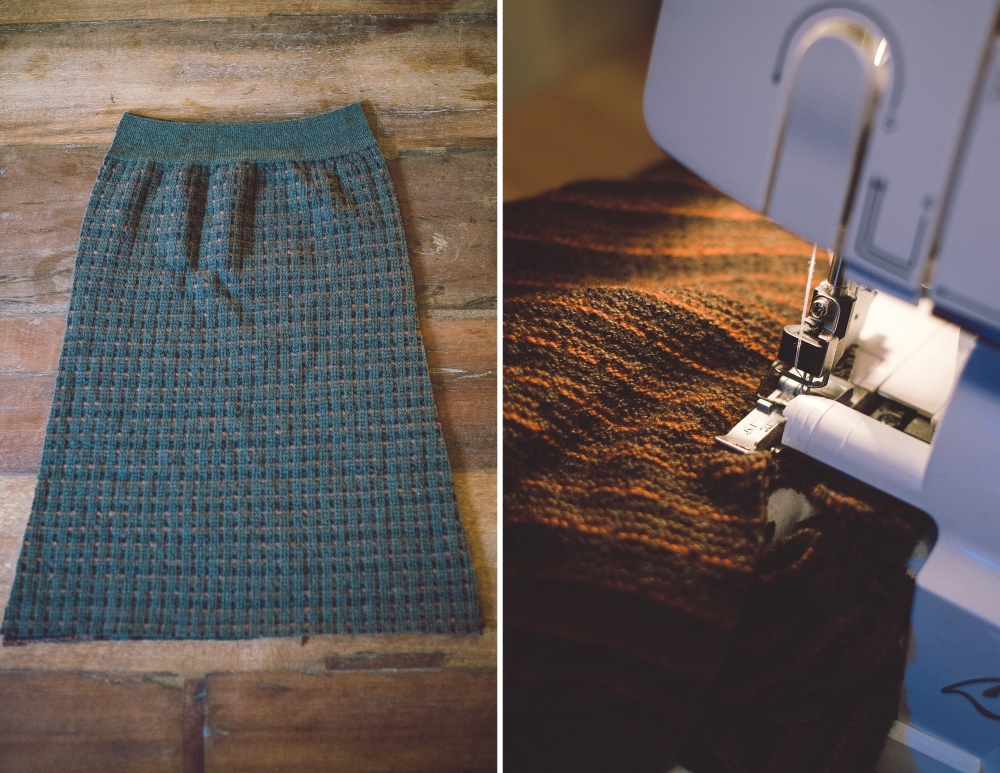
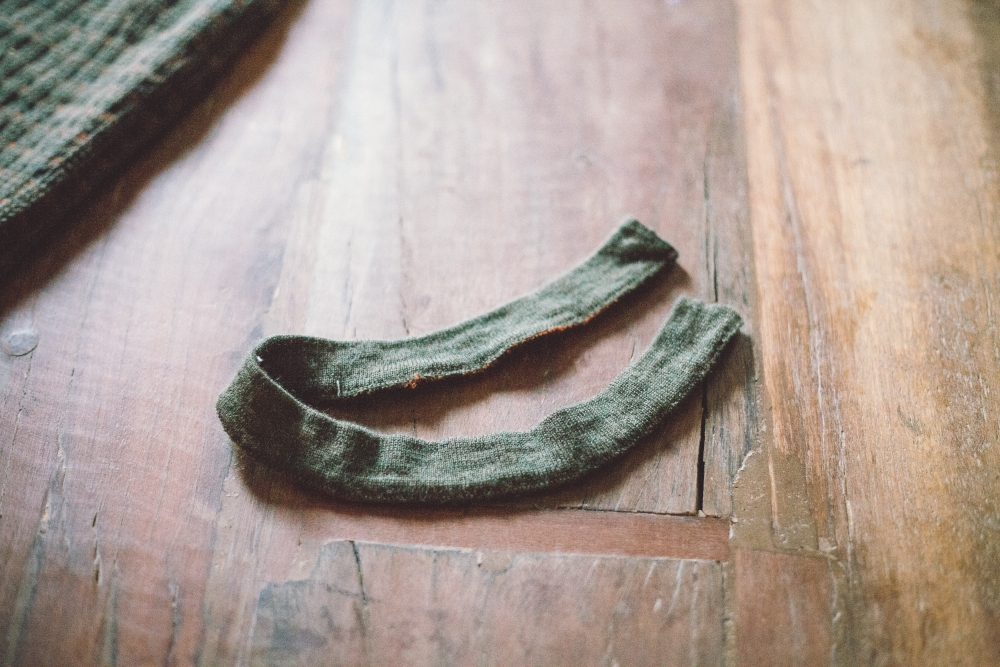
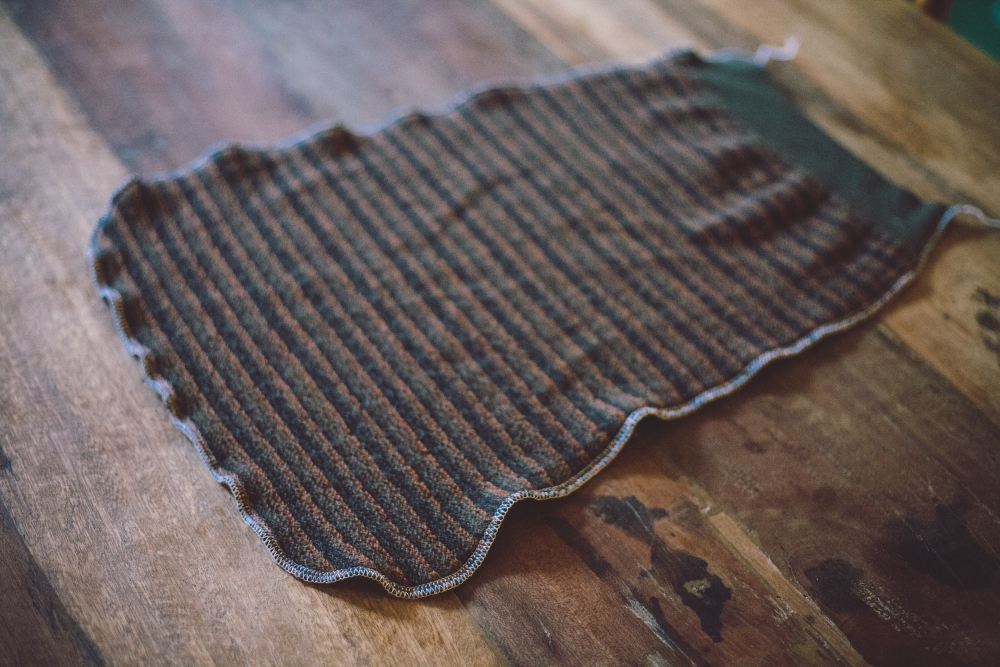
The bottom of the sweater is going to be the top of your sleepsack. I flared out towards the toes to accommodate kicking feetsies. Surge or use a stretch stitch along the sides, rounding the corners. For the straps, cut off the neckband right below where it is attached. It usually won't even require any sewing to keep it from unraveling. Measure over baby's shoulders to estimate length and then attach to the front and back of the sleepsack (it can be slipped over baby's arms) or get fancy and use the button-hole foot on your machine.
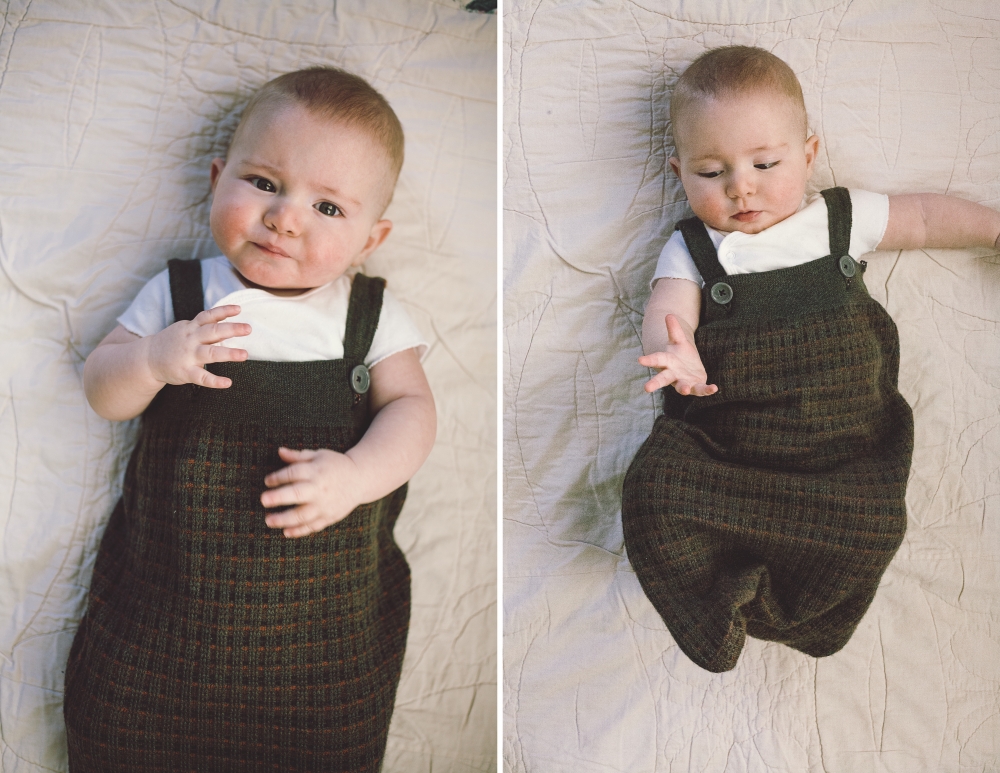


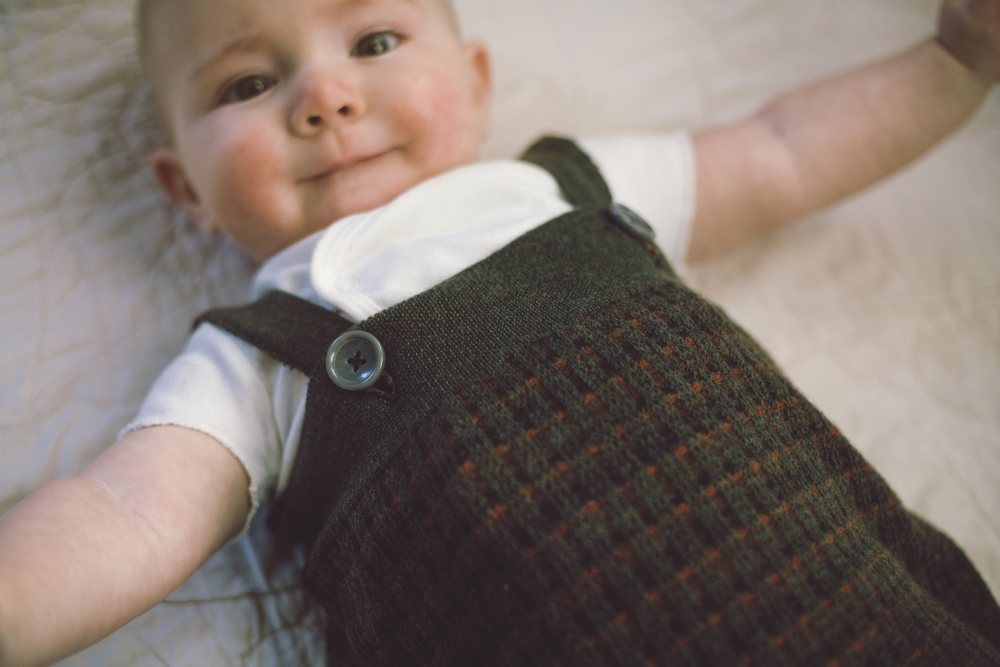
Cozy baby!
