Tibault & Toad

Posts from November 2011

review and giveaway: boingo

In the cloth diapering world, pins are pretty much obsolete. Though some people still use them (and love them, I might add), pins have been replaced by velcro, snaps, or a handy little device called a Snappi. Snappis are t-shaped and made out of a stretchy material and have small plastic "teeth" on each end which grip the fabric and hold it in place. . .

We have used a Snappi since day one and love them. Once you get the hang of them they are super fast and easy to use and way less scary than pins. They only have two drawbacks for me: 1) They tend to create a crease down the middle of the diaper which is noticeable through the cover and some pants, and which my sisters have taken to calling "baby cameltoe." Nice. 2) Because they only grip the back and middle of the diaper, the diaper tends to get a little loose around the legs over time which can result in going through more diaper covers since the prefold doesn't catch solids as well. This has become less of a concern for us as she has upped her intake of solid food, but for a while I was pretty annoyed at going through so many covers in a day. 

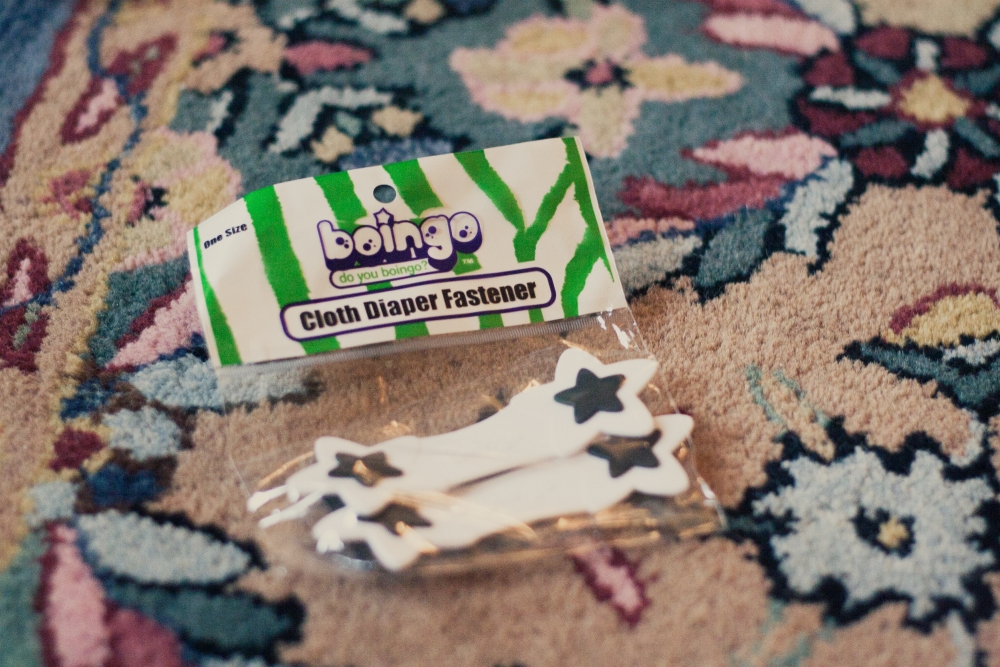
When I stumbled across the new boingo diaper fastener a few months ago, the two piece design looked like it might solve those two drawbacks, so I preordered one in "wicked white" and was stoked when it finally came in the mail the other day. 

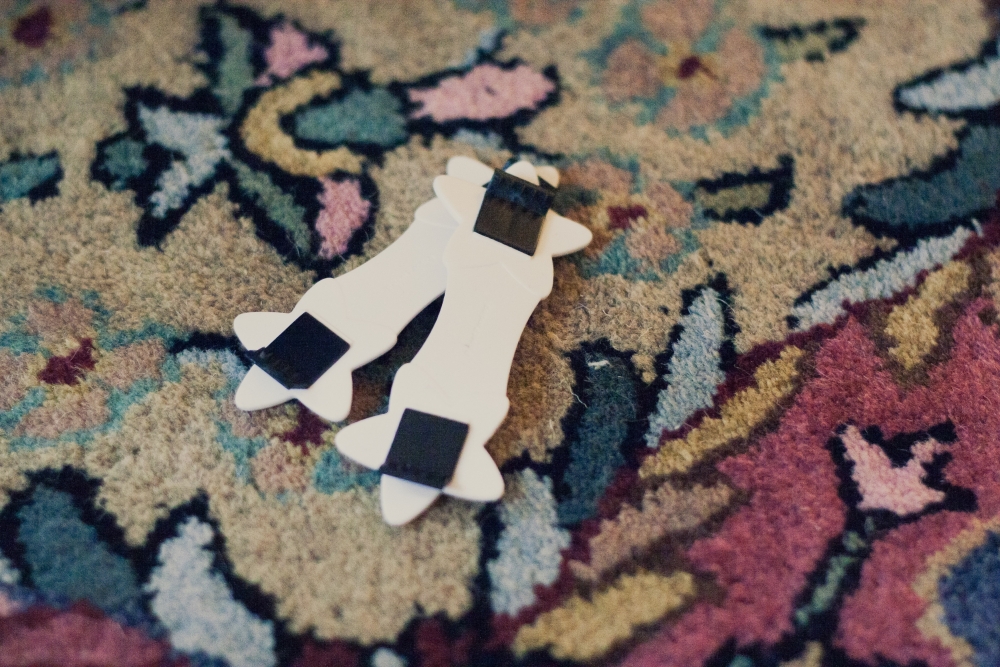
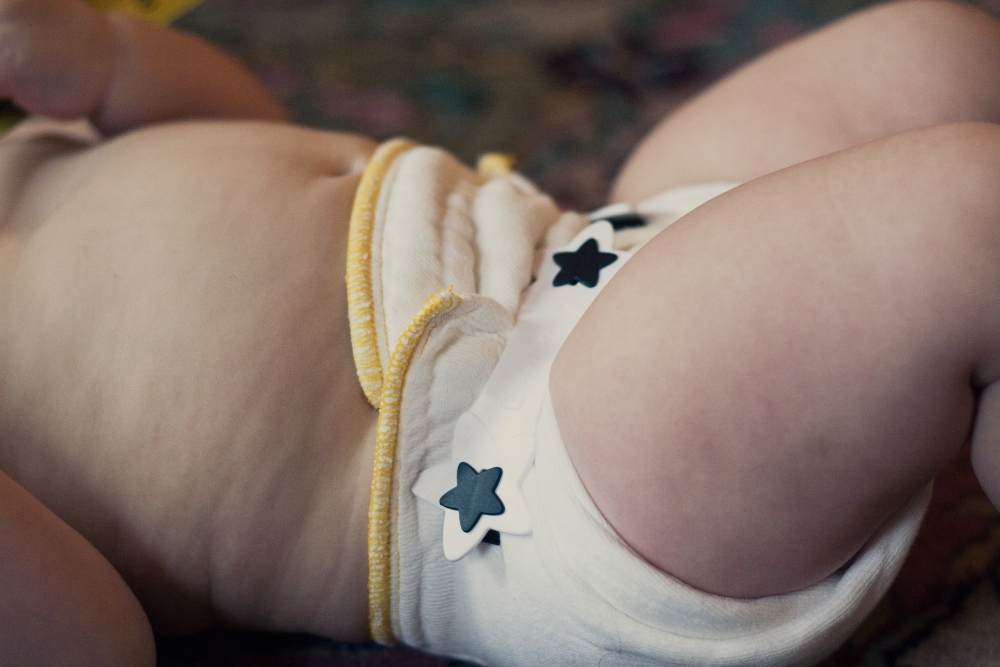
It is made out of the same/a similar material as a Snappi, and also has plastic teeth, but at a more inward angle than a Snappi. Boingo claims that the slight difference in angle is supposed to mean a better grip and less likelihood of poked fingers. I'll let you know my take on that below. Boingos from the back. . .

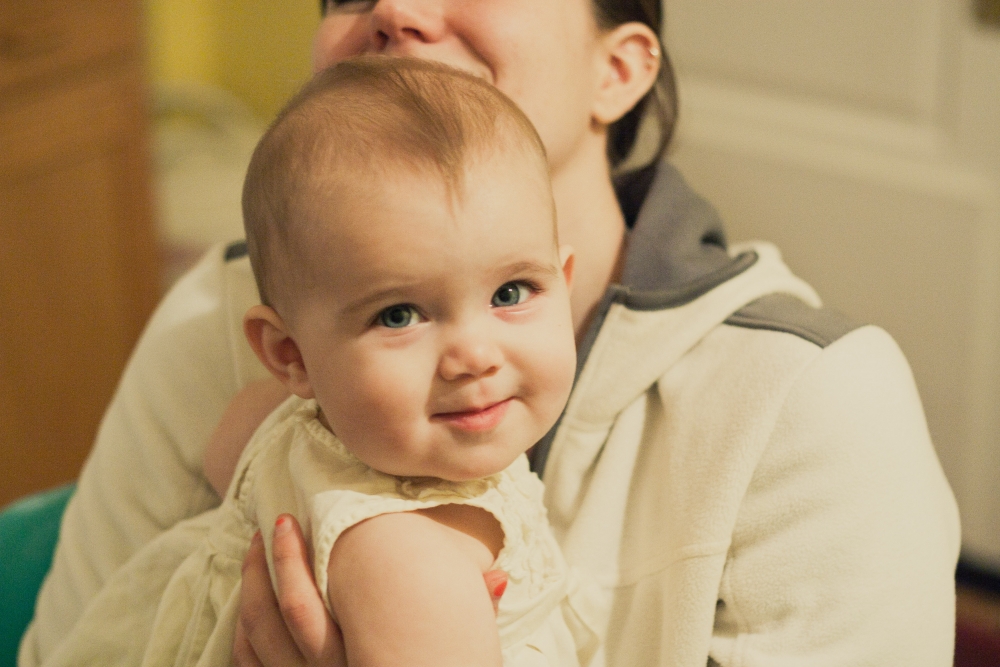
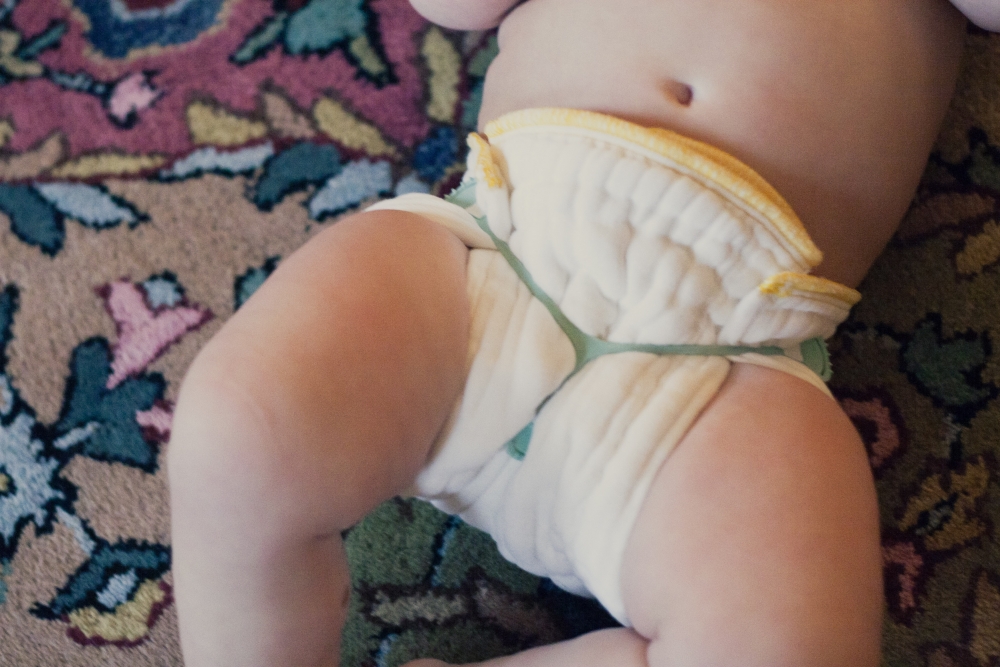
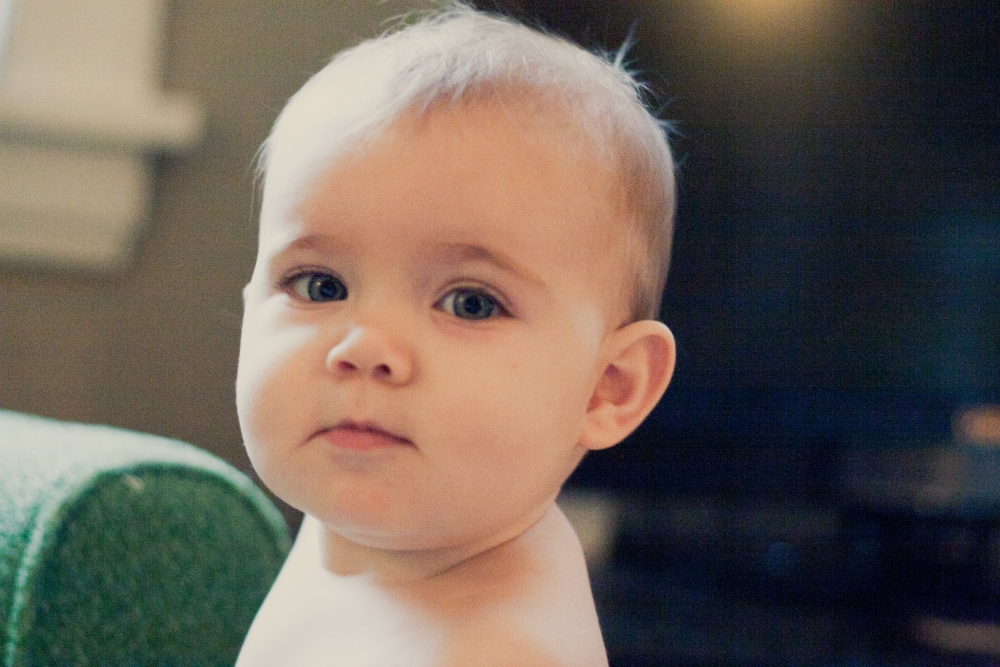
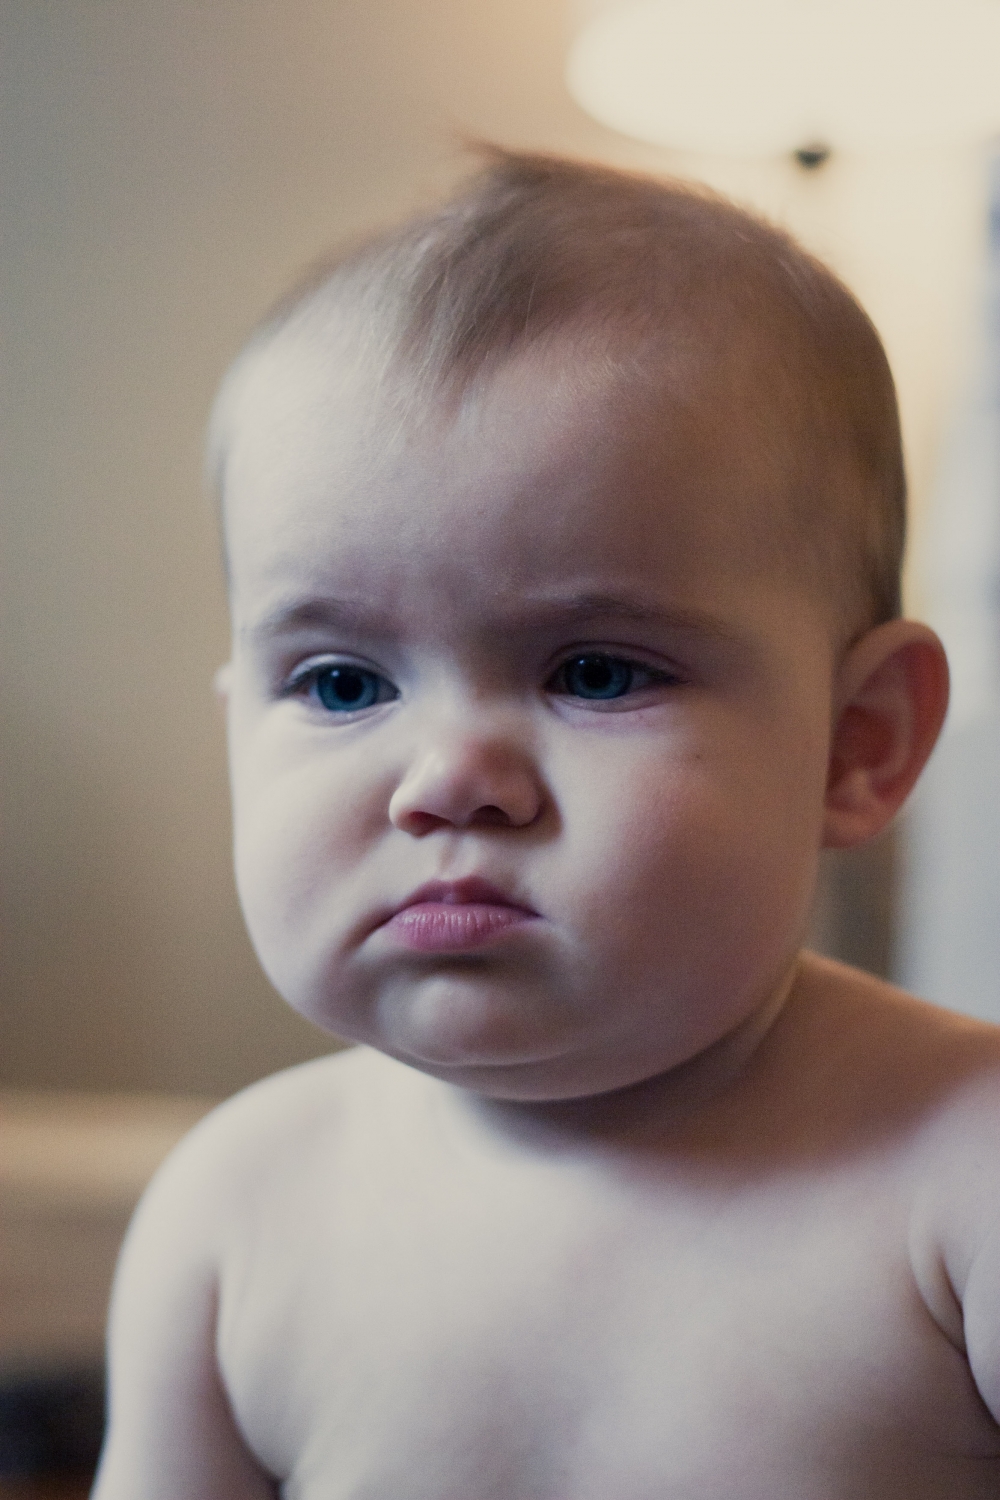
Look at our little unknowing victim here, unaware that not only is she about to endure a diaper change (which she hates) but will also then be coerced to stay still for pictures. . .

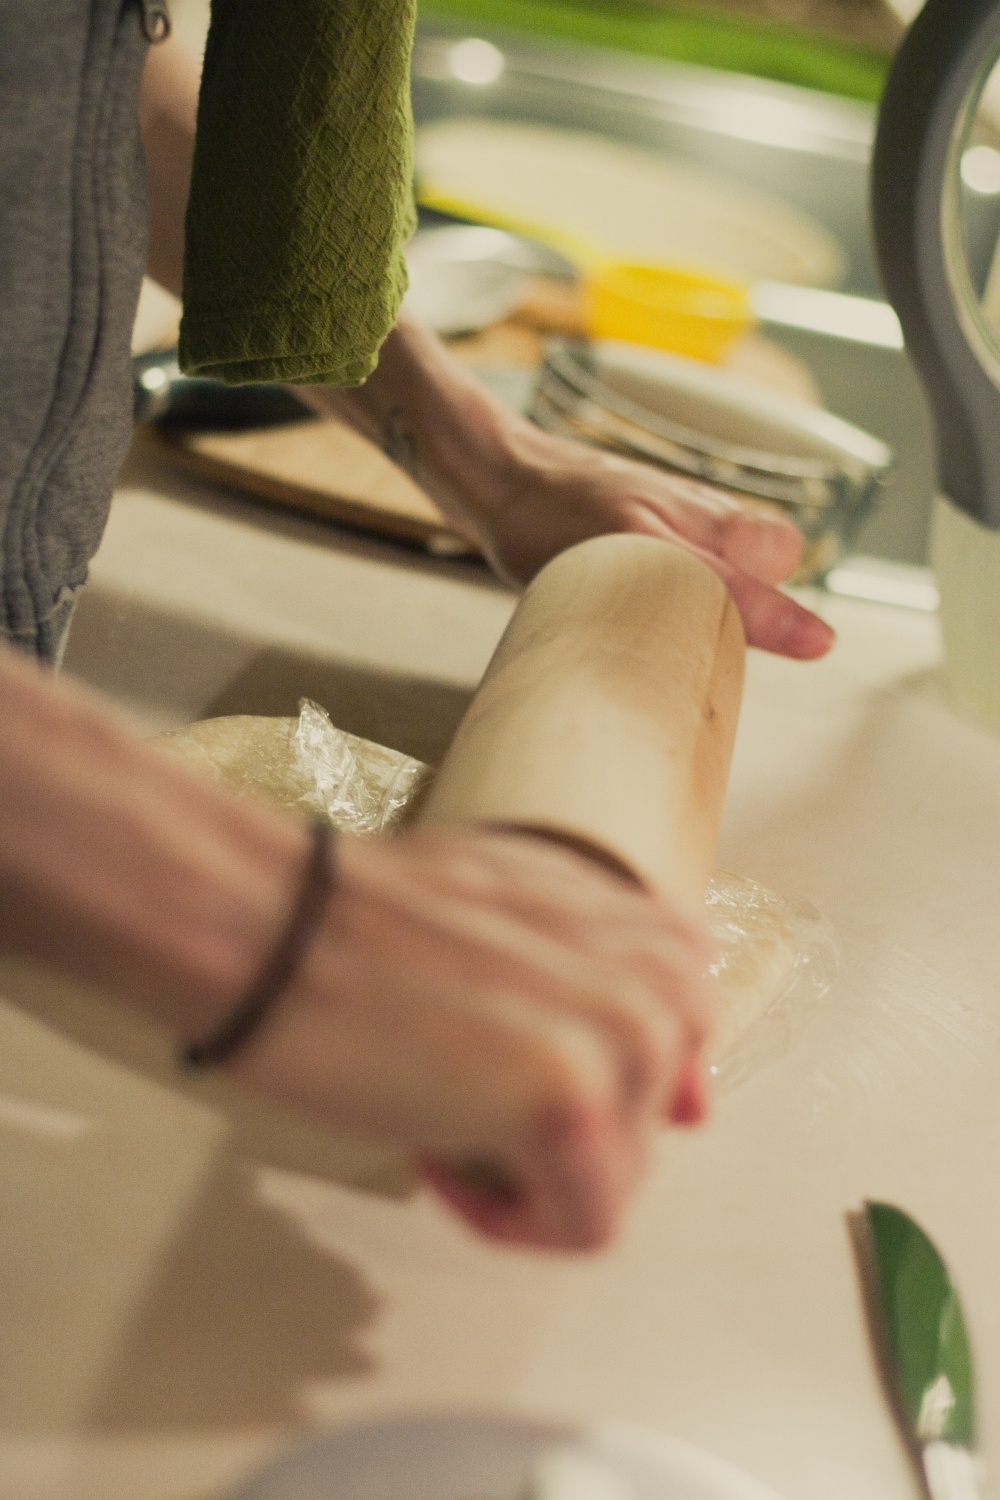
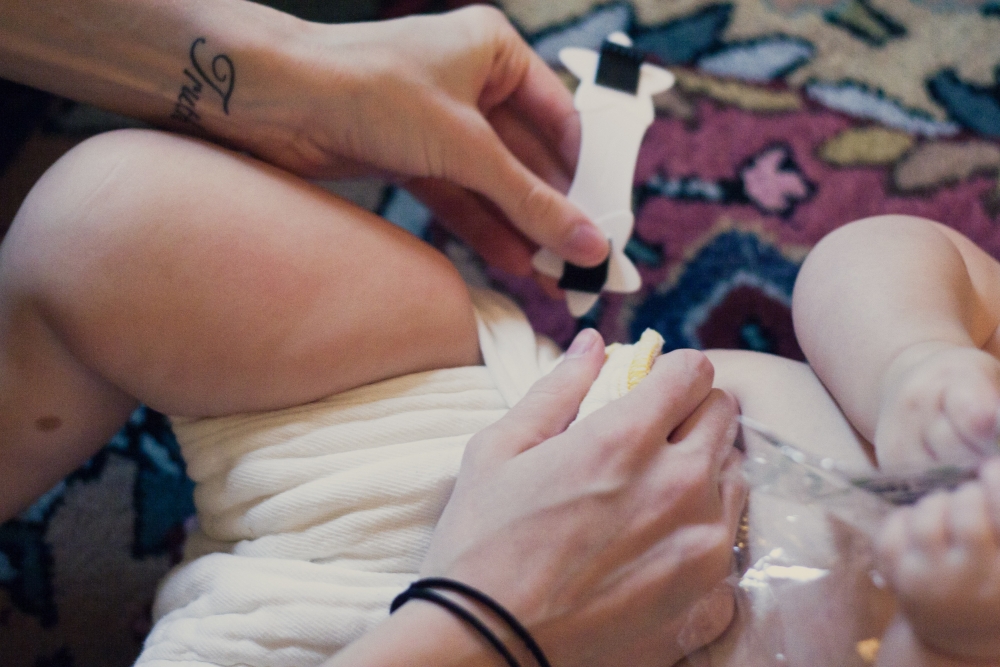
Just like with a Snappi, the first step is to gently stretch them out and then they're ready to go. . .

My assessment:

*Cons:

  • I think the claims about the teeth angle being so much better are a little steep. As far as poked fingers go, I don't think Snappi teeth are very sharp or dangerous. I have never poked or scratched myself, and Indy, who regularly gets ahold of the Snappi has never hurt herself nor been poked or scratched while wearing one. And, in fact, Snappi's have a fold over tab to block the teeth while not in use, and the boingo does not. As far as the grip goes, I noticed no difference, but I use prefolds almost exclusively, which are an easy to grip material. People who use diapers made of harder to grip materials might notice a difference, I'm not sure.
  • They don't really have a "tab" to hold on to, and the tip of the star just doesn't cut it, so I found them a little difficult to use, but I think over time I would develop a technique.
  • They are thicker and bigger than I expected, and I think unnecessarily so. They seem a little bulky while on, and seem like, depending on how they are positioned, they might rub on her thighs a little.

*Pros:

  • It's hard for me to remember my Snappi learning days, but I do vaguely remember having trouble wielding the one piece design. I think for someone who is learning prefolds, the freedom to do one side at a time might be easier.
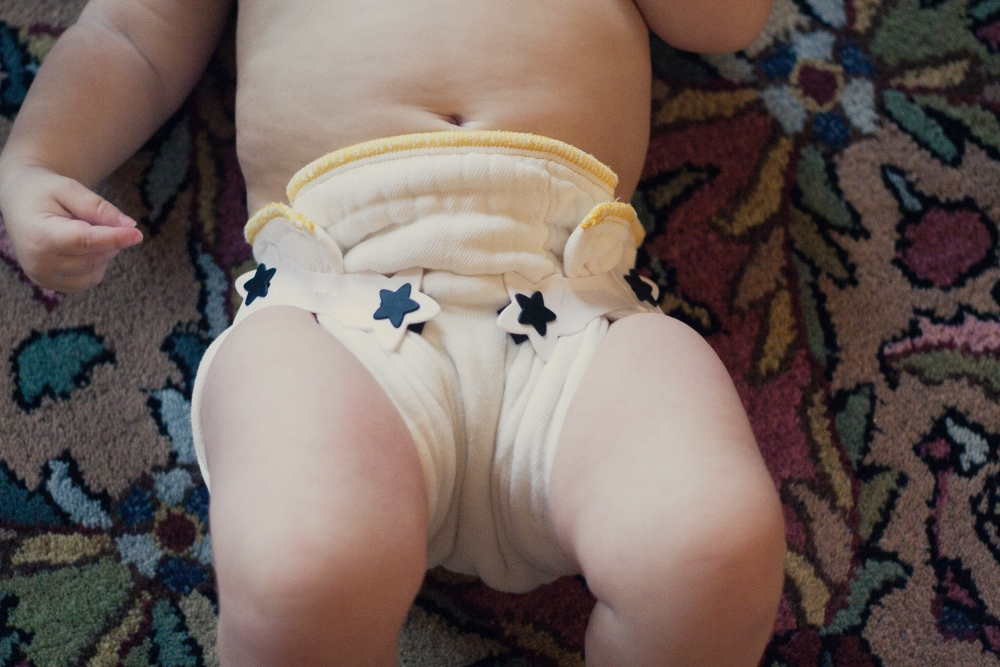
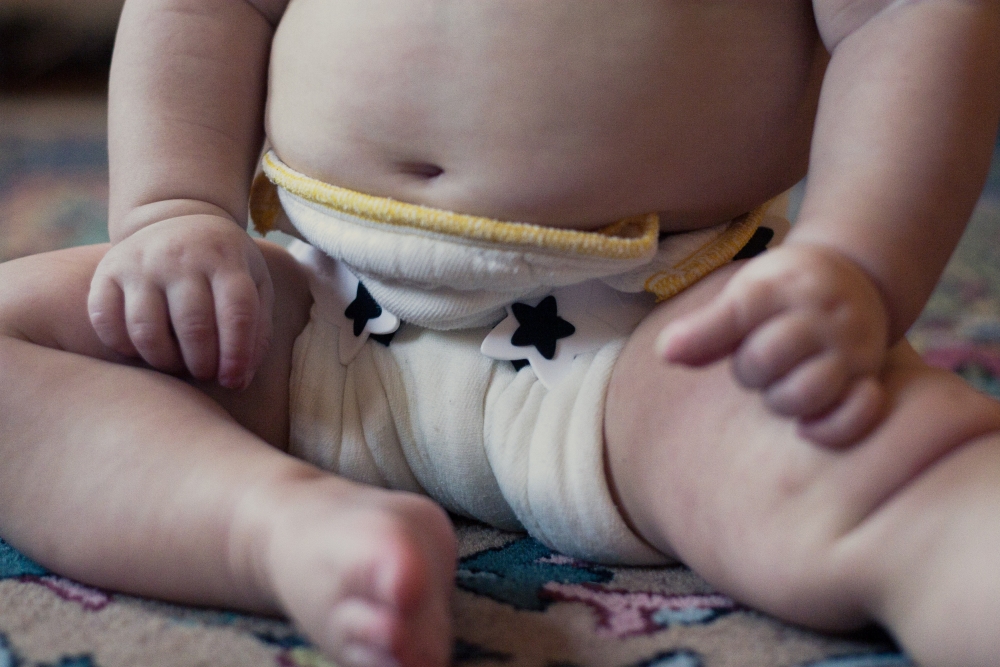
  • And the stars are pretty darn cute, I gotta say that.
  • But the main pro of the boingo is versatility. You can position them as far to the sides as you want, which could extend the use of prefold sizes; angle them down towards the middle, or more straight across; grip right around the legs for a good fit; or even use only one to fasten the overlapping wings of a fitted diaper. 

Overall, I feel sort of neutral about them. They sort of helped with my Snappi complaints, but I could use my Snappi blindfolded and so I'm not sure I was impressed enough to switch. With future babies, if we come to that time again where I'm going through so many covers a day, I would probably pull these out to see if they make a difference. Really, I think they're just different, so it depends what your preferences are. If you're on the fence, for about the same price as a Snappi at under $4, its probably worth the investment.

Indy doesn't care either way though. Look at that face. She probably just peed. . .

--------------------> {

  • Leave a comment below and tell me why you want to try a boingo!
  • Hit the "like" button below and leave an additional comment saying that you did so!

The giveaway will expire December 5th and the winner will be drawn and announced soon after, so check back to see if you won!


Pin It

pumpkin meringue pie

Happy belated thanksgiving everyone! I hope everyone had a peaceful and warm day with family/friends and copious amounts of food! Our's was a quiet but fun day at my parent's house filled with sisters and brothers-in-law and Indigo's cousins, and, of course. . . THIS awesome pie! I promise this is the last pie post for the season. I just had to share this recipe (along with some slight adjustments) in case someone happens to have the opportunity to make pie again before the holidays are over, because you're gonna wanna try this one.

The recipe is thanks to Martha Stewart again, and can be found here. I did make some adjustments to both the crust and meringue recipes which greatly improved the pie, and you can read about below.

Make sure you start this pie the night before, since it needs to cool for quite a while in the fridge before adding the meringue.

The crust is the same recipe as the pate brisee that is used for the apple blackberry pie. Cut the recipe in half, since you are only make a bottom crust. Start by whisking your dry ingredients together. Even though the recipe is cut in half, I accidentally still added a full tablespoon of sugar, but it resulted in a delicately sweet crust which was just amazing, so I highly recommend that extra bit of sugar. Chop your ice cold butter (or chop and freeze ahead of time). . .

Cut together with a pastry cutter. As per my inkling after my last pie crust, I left the butter pieces about twice as big as recommended and as I expected the resulting crust was much flakier, an A+. . .

Sprinkle in water and mix until it holds together when pressed between two fingers. Don't overmix. Crumbly is good, and the moisture will spread through the crust while rolling and while it chills in the fridge. Press into a disk on a piece of plastic wrap and wrap up. . .

Gently roll with rolling pin. . .

This is what you want to see: beautiful marbling of the butter. . .

Refrigerate 30 minutes.  Preheat oven to 350 degrees.

Also, notice there are no pictures of Indy clinging to my leg in this post so far? Aunty Bethy and Uncle Jon were visiting, and that equals a happy baby. . .

Roll crust to 1/8 inch and fit into pie pan. I don't own a deep dish pie pan (yet), so I made this a regular depth pie. This left me with leftover filling, if you plan ahead, you could definitely make two pies. Cut excess crust with an inch overhanging. If you notice, I did not do this, and therefore did not have enough crust to fold over the edge of the pan, and therefore ended up with a shrunken crust. Definitely learn from my mistake so that you crust can be more beautiful than mine, haha. . .

Lay parchment paper over your crust and fill with pie weights or dried beans and then bake 15 minutes. Then remove parchment and weights and bake another 20 minutes until nice and brown. Remove and set on a rack to cool. Reduce oven to 325. . .

Meanwhile, make your filling. My brown sugar is hopelessly dried out (or got too moist? who knows, brown sugar is such a mystery), so I spent quite a while breaking up all the chunks with my fingers. Suggestions to avoiding this would be much appreciated. . .

Add all the filling ingredients into the bowl. Add twice the vanilla. I always add twice the vanilla to recipes and it always does me right. . .

Whisk together. . .

Pour filling into cooled crust. Bake for 50 minutes. Allow to cool, and then put in the fridge over night. Skip the plastic wrap. Even a cooled pie can still generate condensation which will result in a soggy crust. . .

Make the meringue right before serving. Set up a double boiler over simmering water with eggs and sugar in a heat proof mixing bowl. (Based on some comments on the recipe, I altered the meringue ingredients slightly. For one, since my pie is not deep dish, I reduced the overall recipe to 6 egg whites instead of 8 and this made plenty of meringue. I also greatly reduced the sugar, and added only 3/4 cup. If using the full 8 eggs, use a cup, instead of the 2 suggested in the recipe. This made for a perfect meringue, in my opinion. Any more sugar would have been sickly sweet.) Whisk the eggs and sugar until the sugar dissolves, about 3 minutes. Test for sugar granules with your fingers. . .

Remove from heat. Whip on medium for 3 minutes, and then on high until stiff peaks form. It will start out looking a little like this. . .

And eventually start looking like this. . .

And when you see stiff peaks like this. . .

Your done. Make sure you peaks stand nice and high and stand straight up or barely bend over on top. When in doubt, whip for a little more, or your meringue will be too wet. Spread meringue on pie. . .

Pile it high. I used the spatula to "tap" the meringue and make a bunch of little peaks. . .

I bought a creme brulee torch at Marcel's just for this pie. At $30 it was worth it to me. But if you really don't want to buy a torch, you can brown it in the oven. About 2 minutes or until peaks are golden brown in a 450 degree oven should do it. I have never tried this method, so if you try it, let me know how it works. . .

The pie turned out beautifully, and it was delicious. . .

And no whip cream required. . .


Pin It